
Kitchen Organization Ideas: 36 Smart Ideas
A well-organized kitchen makes every meal easier, from a rushed weekday breakfast to a slow Sunday roast. When pots,…

A well-organized kitchen makes every meal easier, from a rushed weekday breakfast to a slow Sunday roast. When pots, spices, and pantry staples each have a clear home, you stop wasting time searching through crowded cupboards and you start cooking with far less stress. Kitchen organization is not about a perfect showroom — it is about a practical system that fits the way you actually cook, eat, and live.
In this guide you will find 36 kitchen organization ideas for every size of kitchen, from a tiny flat to a large family kitchen. Each idea focuses on a real problem — messy pantries, tangled drawers, cluttered countertops, and overstuffed cabinets — with practical, affordable systems you can set up in an afternoon. Pick the ideas that fit your space and your budget, and build a kitchen that works as hard as you do.
1. Pantry Zones by Meal
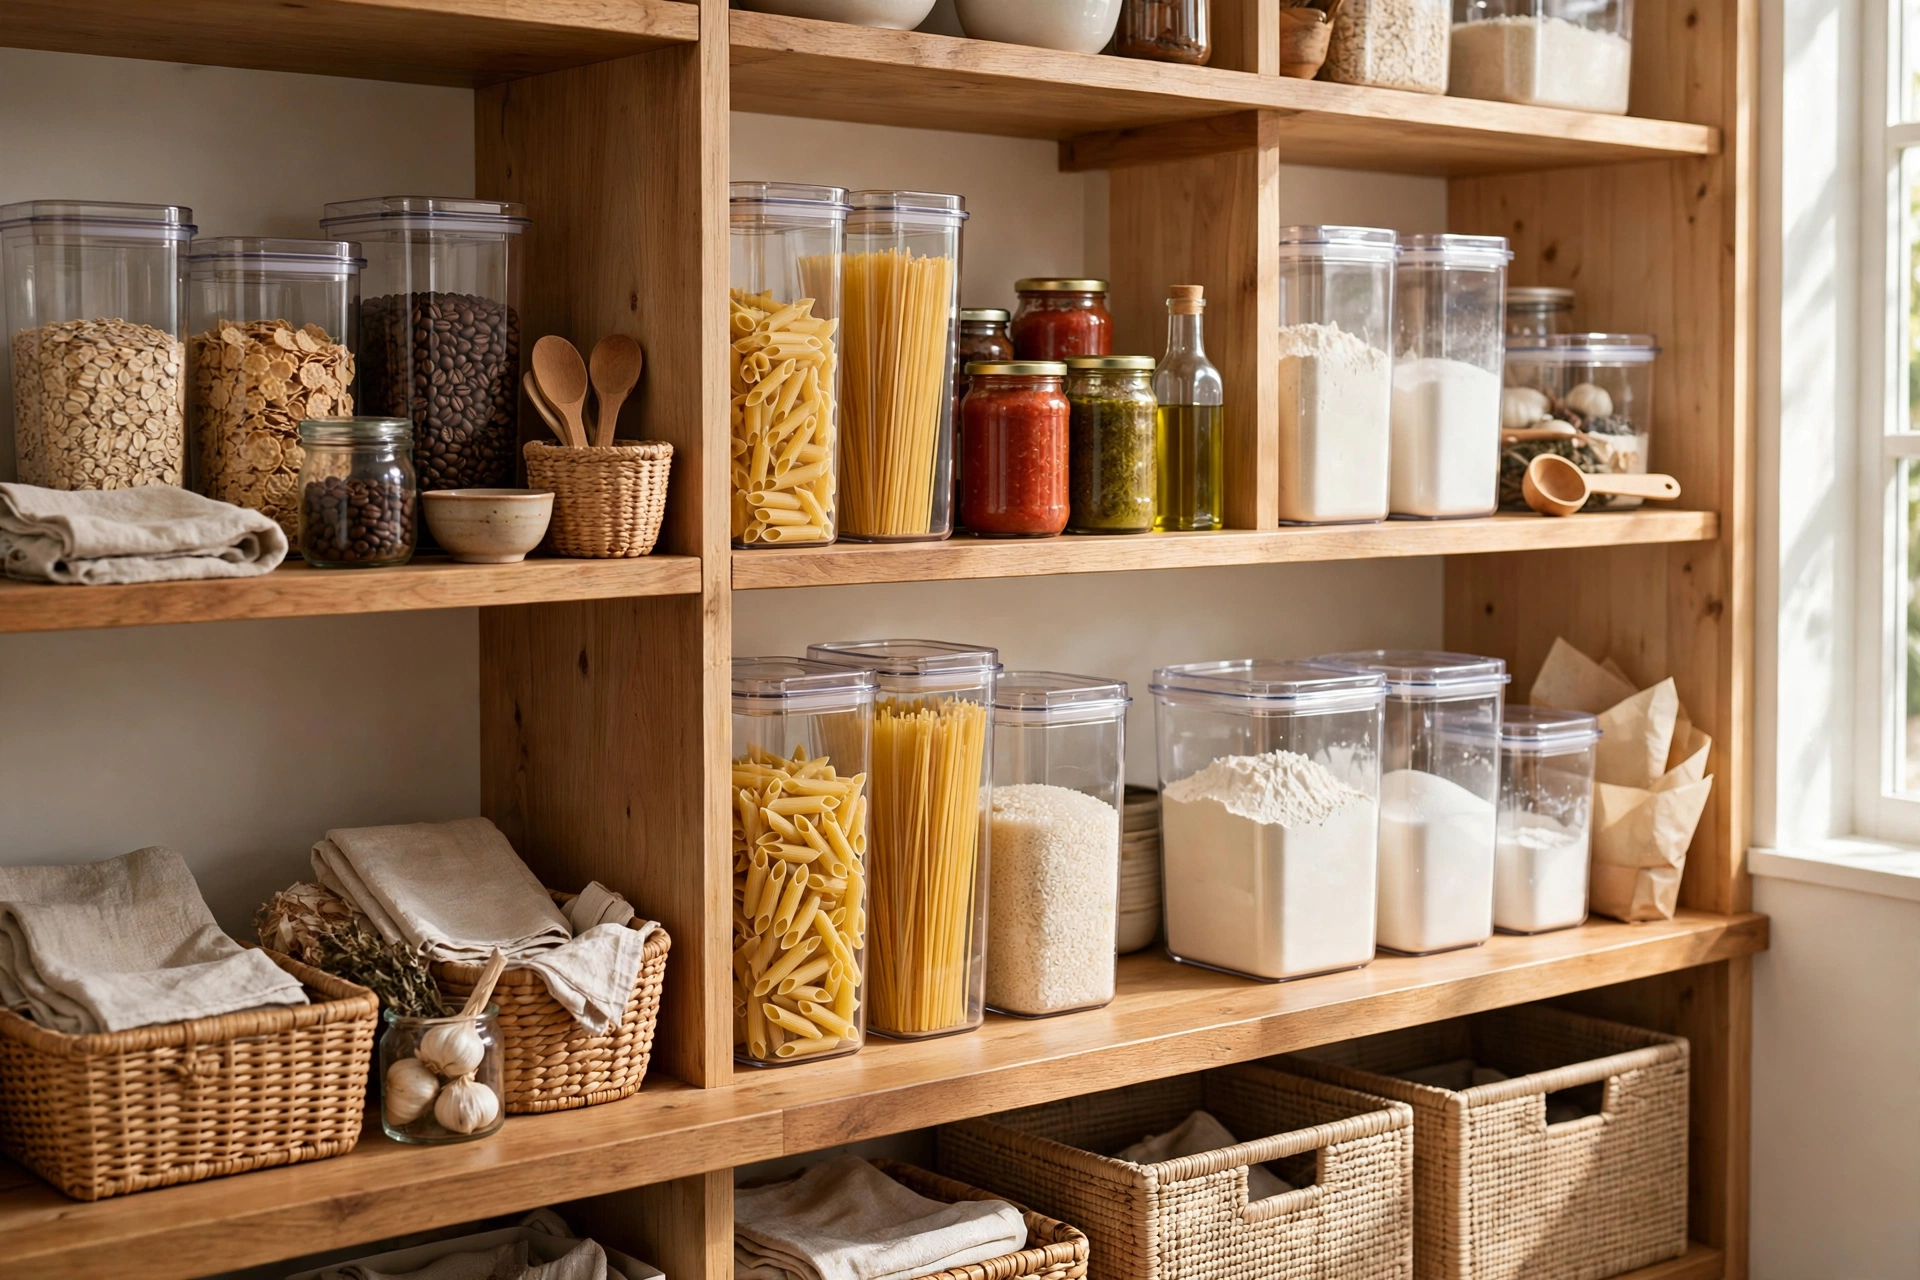
Group your pantry by how you actually cook, not by food type alone. Create a breakfast zone with oats, cereal, honey, and coffee; a dinner zone with pasta, rice, sauces, and canned goods; and a baking zone with flour, sugar, and baking powder. When everything for one meal lives together, you stop hunting through shelves and you can see at a glance what you need for the week.
Start by emptying one shelf at a time and sorting items into meal groups on the counter. Put the zones you use most at eye level and the rarely used items up high or down low. Keep a small notepad or a list on the inside of the pantry door so anyone in the house can jot down what runs out. Zones make cooking faster, shopping easier, and the pantry far simpler to keep tidy.
2. Clear Pantry Containers with Labels
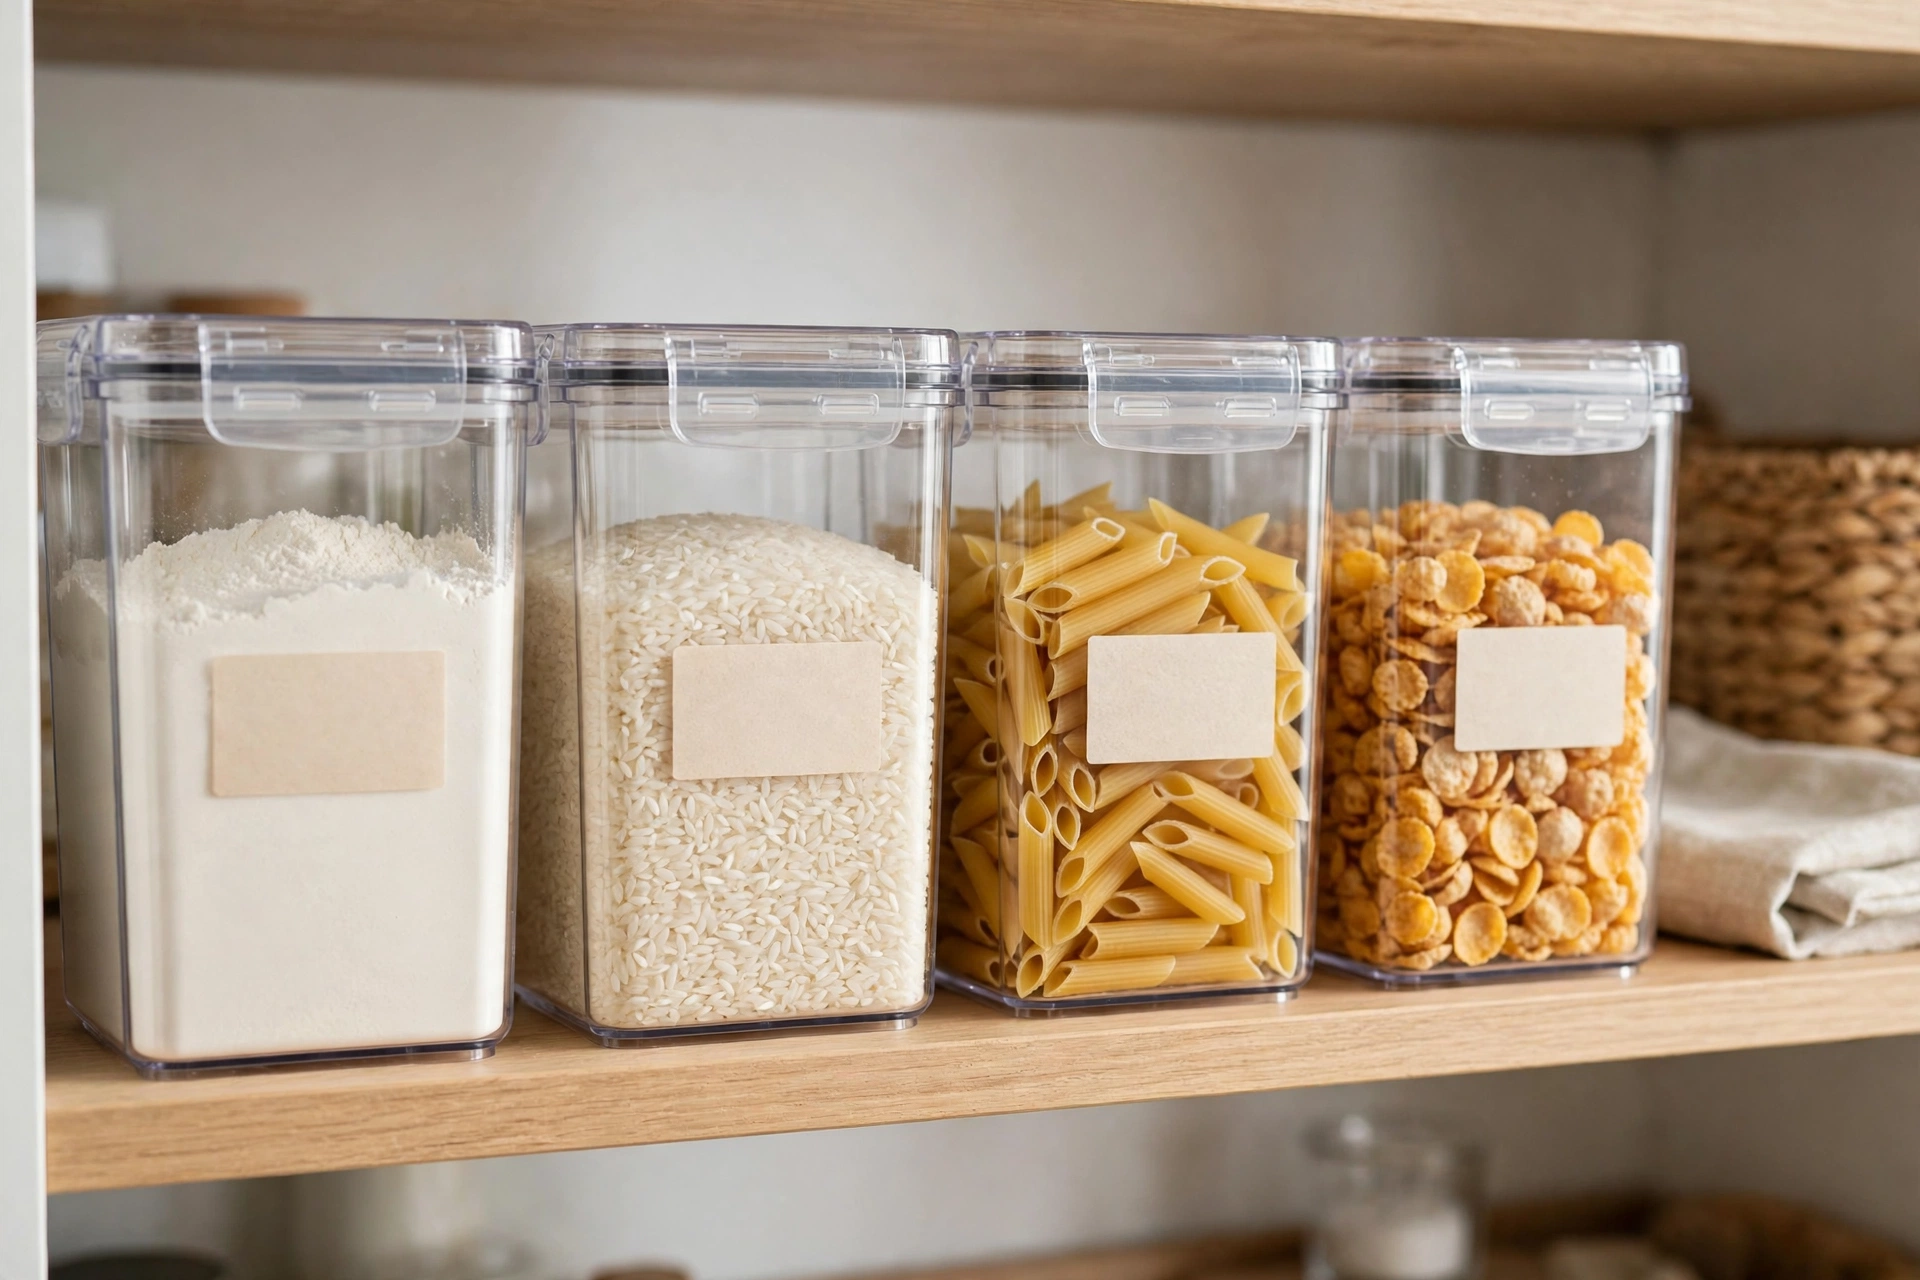
Decanting dry goods into clear, airtight containers is one of the most satisfying kitchen organization ideas. Flour, rice, pasta, cereal, and snacks stay fresh longer, and you can see exactly how much is left without opening five half-empty boxes. Choose square or rectangular containers so they sit flush together with no wasted space between them.
Label every container with its contents and, if it helps, the expiry date or the date you filled it. A simple label maker or masking tape and a marker works just as well as fancy printed labels. Keep the original cooking instructions tucked inside the lid or photographed on your phone, so decanting never leaves you guessing at cooking times.
3. Pull-Out Pantry Shelves
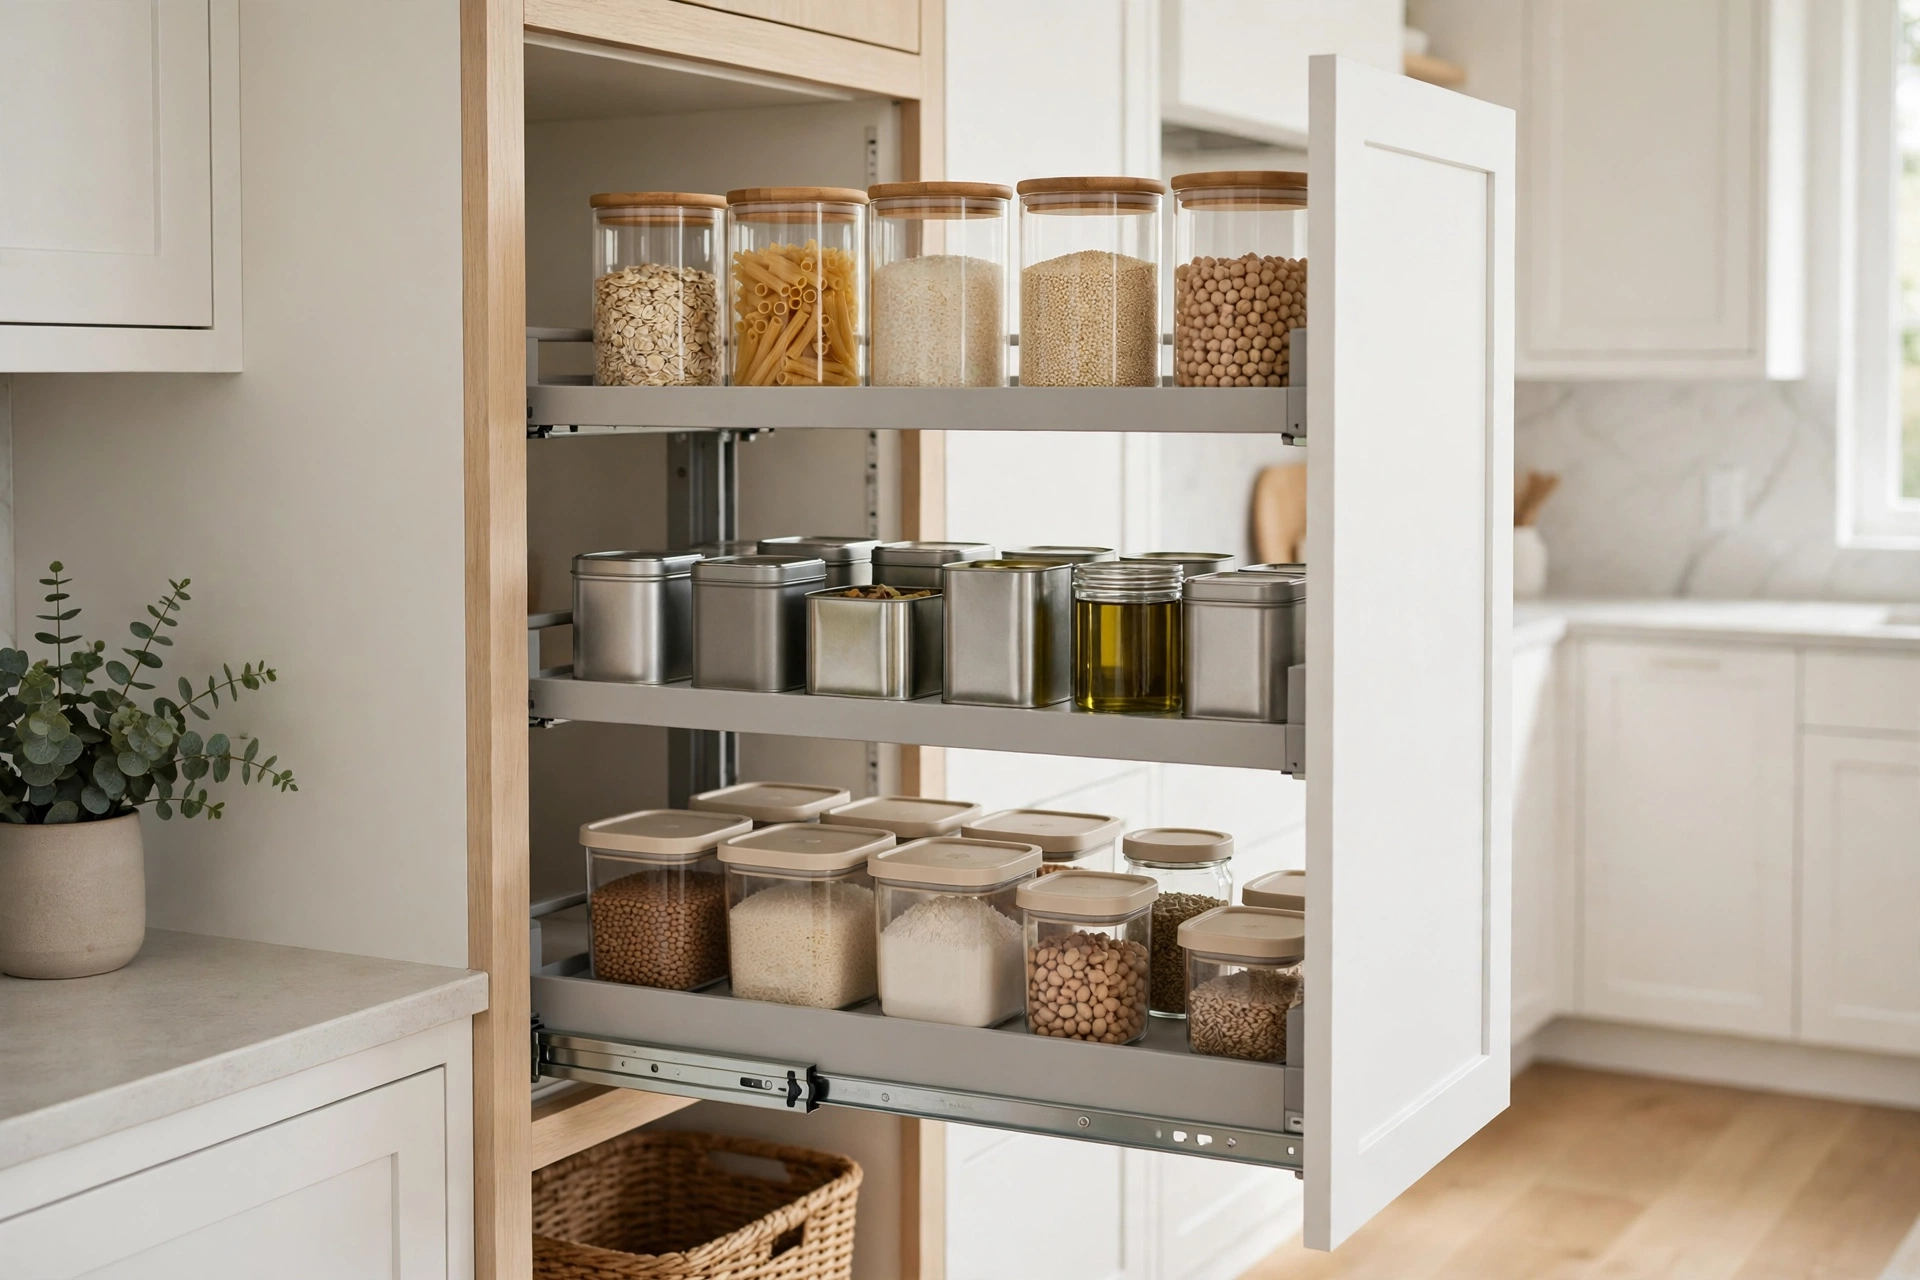
Deep pantry shelves hide food at the back until it expires, but pull-out shelves fix that completely. A sliding shelf or a pull-out basket brings everything into view with one smooth pull, so nothing gets lost behind the front row. They are especially useful in deep cabinets and tall pantry cupboards where reaching the back is a daily struggle.
You can buy ready-made pull-out baskets that fit standard cabinets, or have a carpenter add sliding shelves to an existing pantry. Keep heavy items like canned goods and large jars on the lower pull-outs, and lighter items like snacks and baking supplies up top. Once you have pull-outs, you will wonder how you ever cooked without them.
4. Spice Drawer Organizer
A spice drawer keeps every jar visible at a glance, with no more spinning racks or digging behind tall bottles. Lay spice jars flat in a shallow drawer with a tiered insert, labels facing up, and arrange them alphabetically or by cuisine so you can find cumin or cinnamon in seconds. It frees up a whole cabinet shelf too.
If your drawer is deep, use a stepped insert so the back rows sit higher than the front. Transfer spices into matching small jars for a uniform look, and label the lids as well as the sides so the names are visible from above. Keep the drawer near the stove or prep area, where you actually reach for spices while cooking.

5. Magnetic Spice Rack on the Fridge
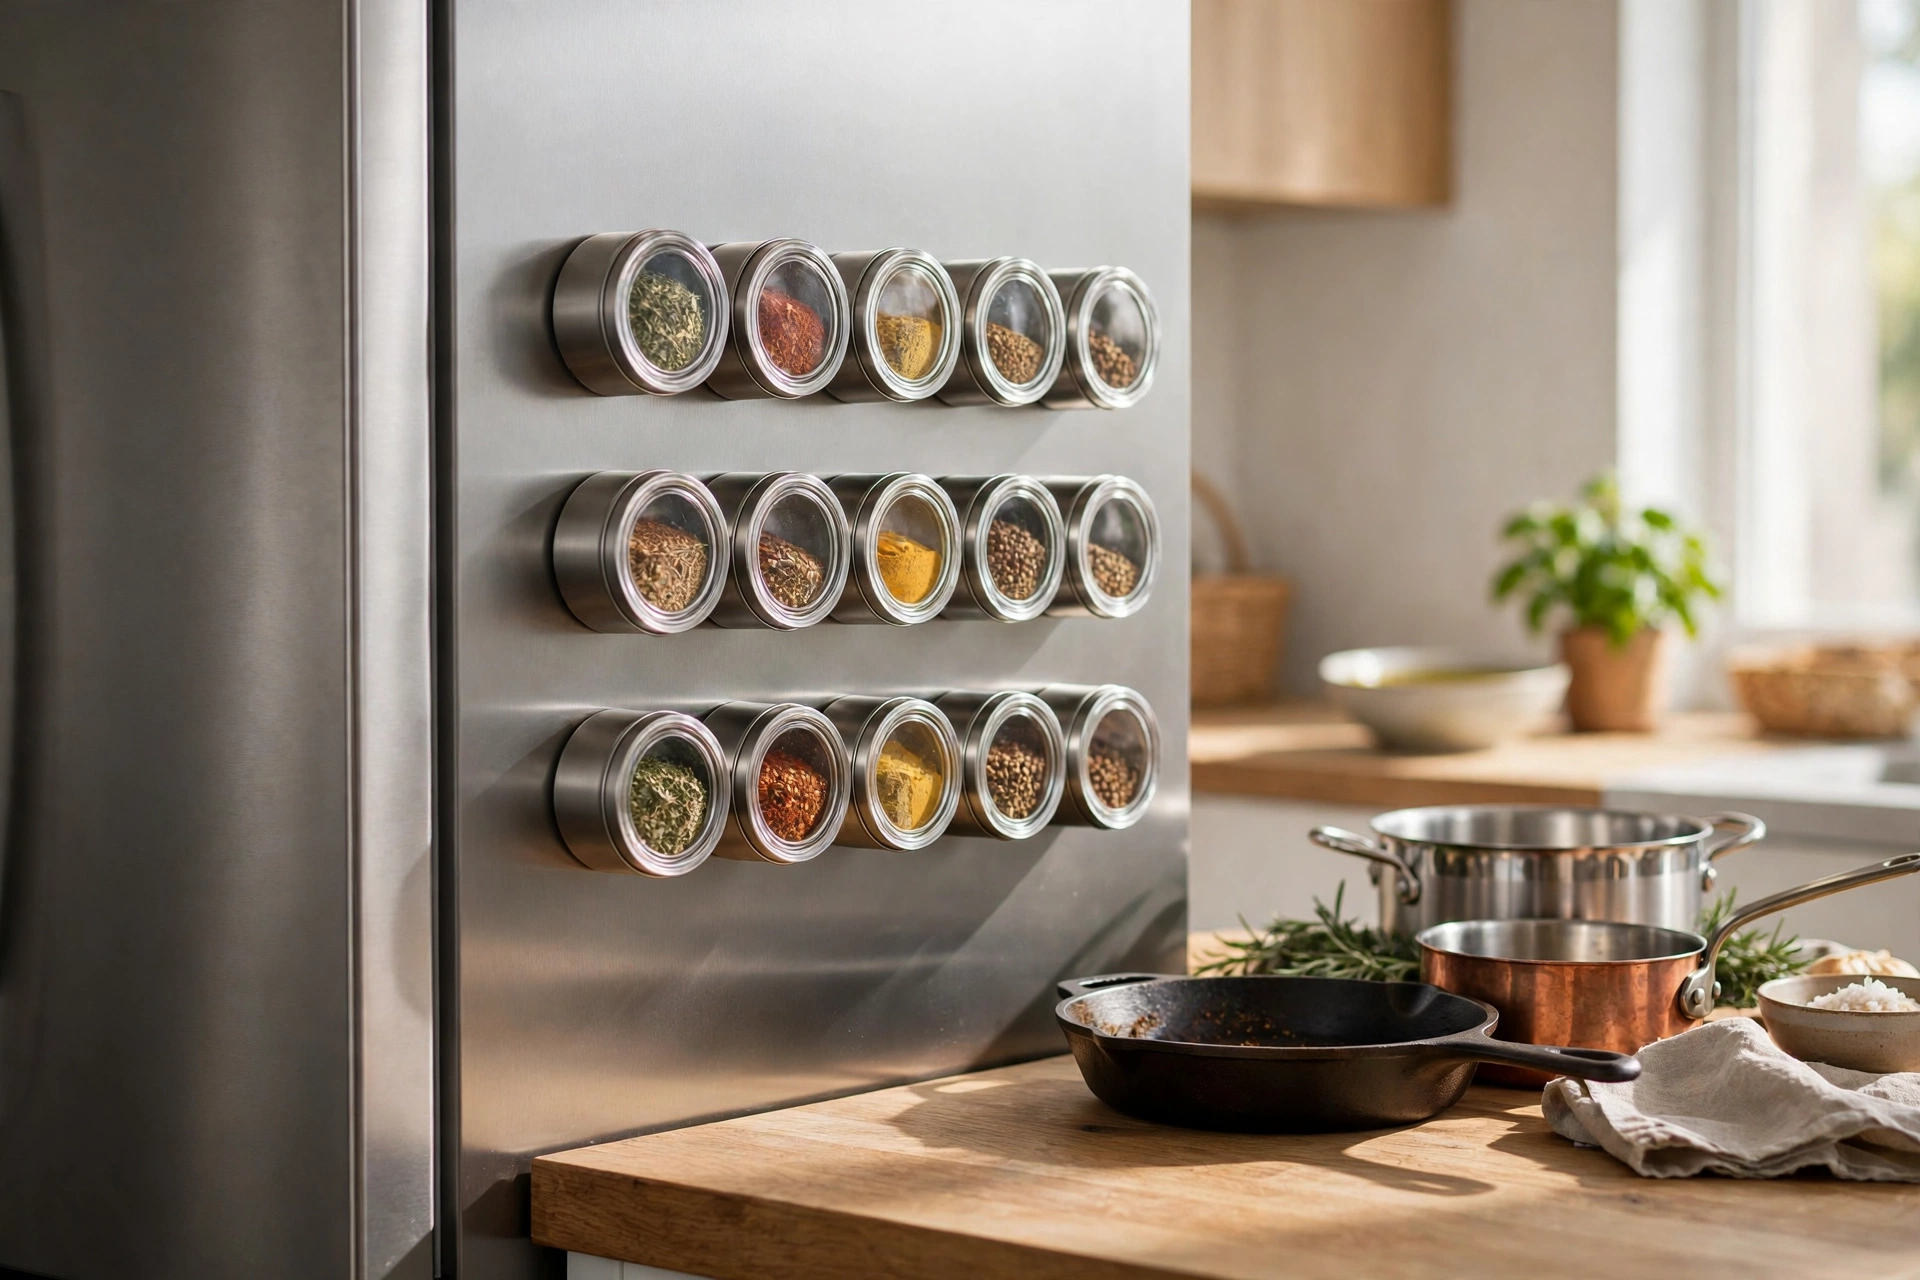
Small kitchens need storage that uses surfaces you already have, and the side of the fridge is prime real estate. Small magnetic spice tins stick to the fridge door or side, holding your most-used spices right where you cook. Clear lids or labels on the bottom make it easy to grab the right tin without taking them all down.
Choose strong magnets and tins with tight-fitting lids so nothing spills, and keep only the spices you use weekly on the fridge — the rest can live in a drawer or cabinet. Group them by cuisine or by how often you use them, with the everyday salt, pepper, paprika, and garlic powder at eye level. It is a renter-friendly idea that needs no drilling at all.
6. Tiered Spice Shelf in a Cabinet
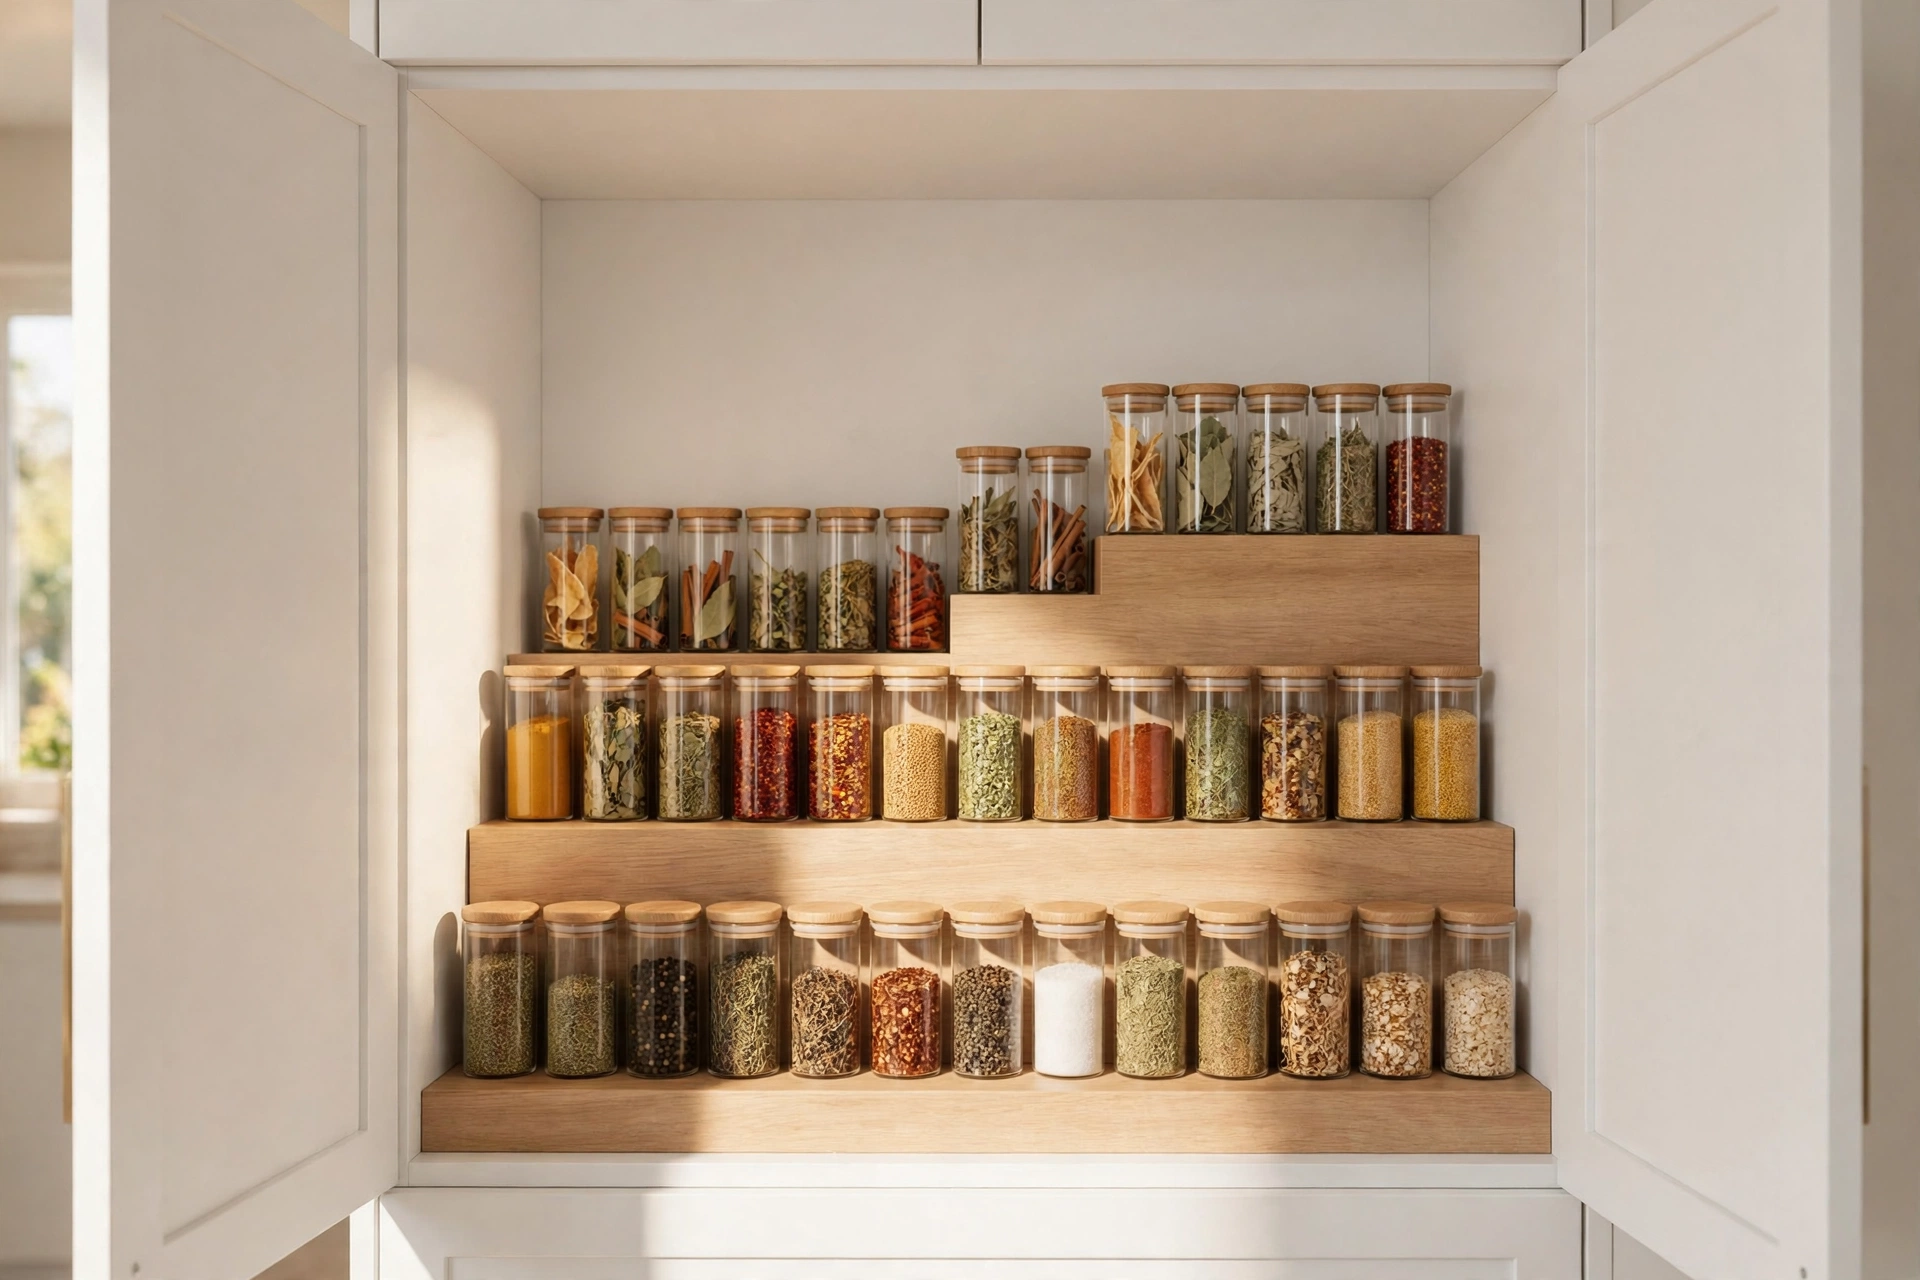
A tiered shelf, or spice steps, turns a dark cabinet into a neat little spice staircase where every jar is visible. The back rows sit higher than the front, so you never have to move six jars to find the one at the back. It is a cheap, instant fix for the classic problem of spices disappearing into the depths of a cabinet.
Measure your cabinet shelf height before buying, so tall jars still fit under the shelf above. Arrange spices alphabetically for the fastest lookup, or group them by flavour family — warm spices together, herbs together, chilli and pepper together. A non-slip liner under the steps stops jars sliding when you open and close the door.
7. Pot and Pan Lid Organizer
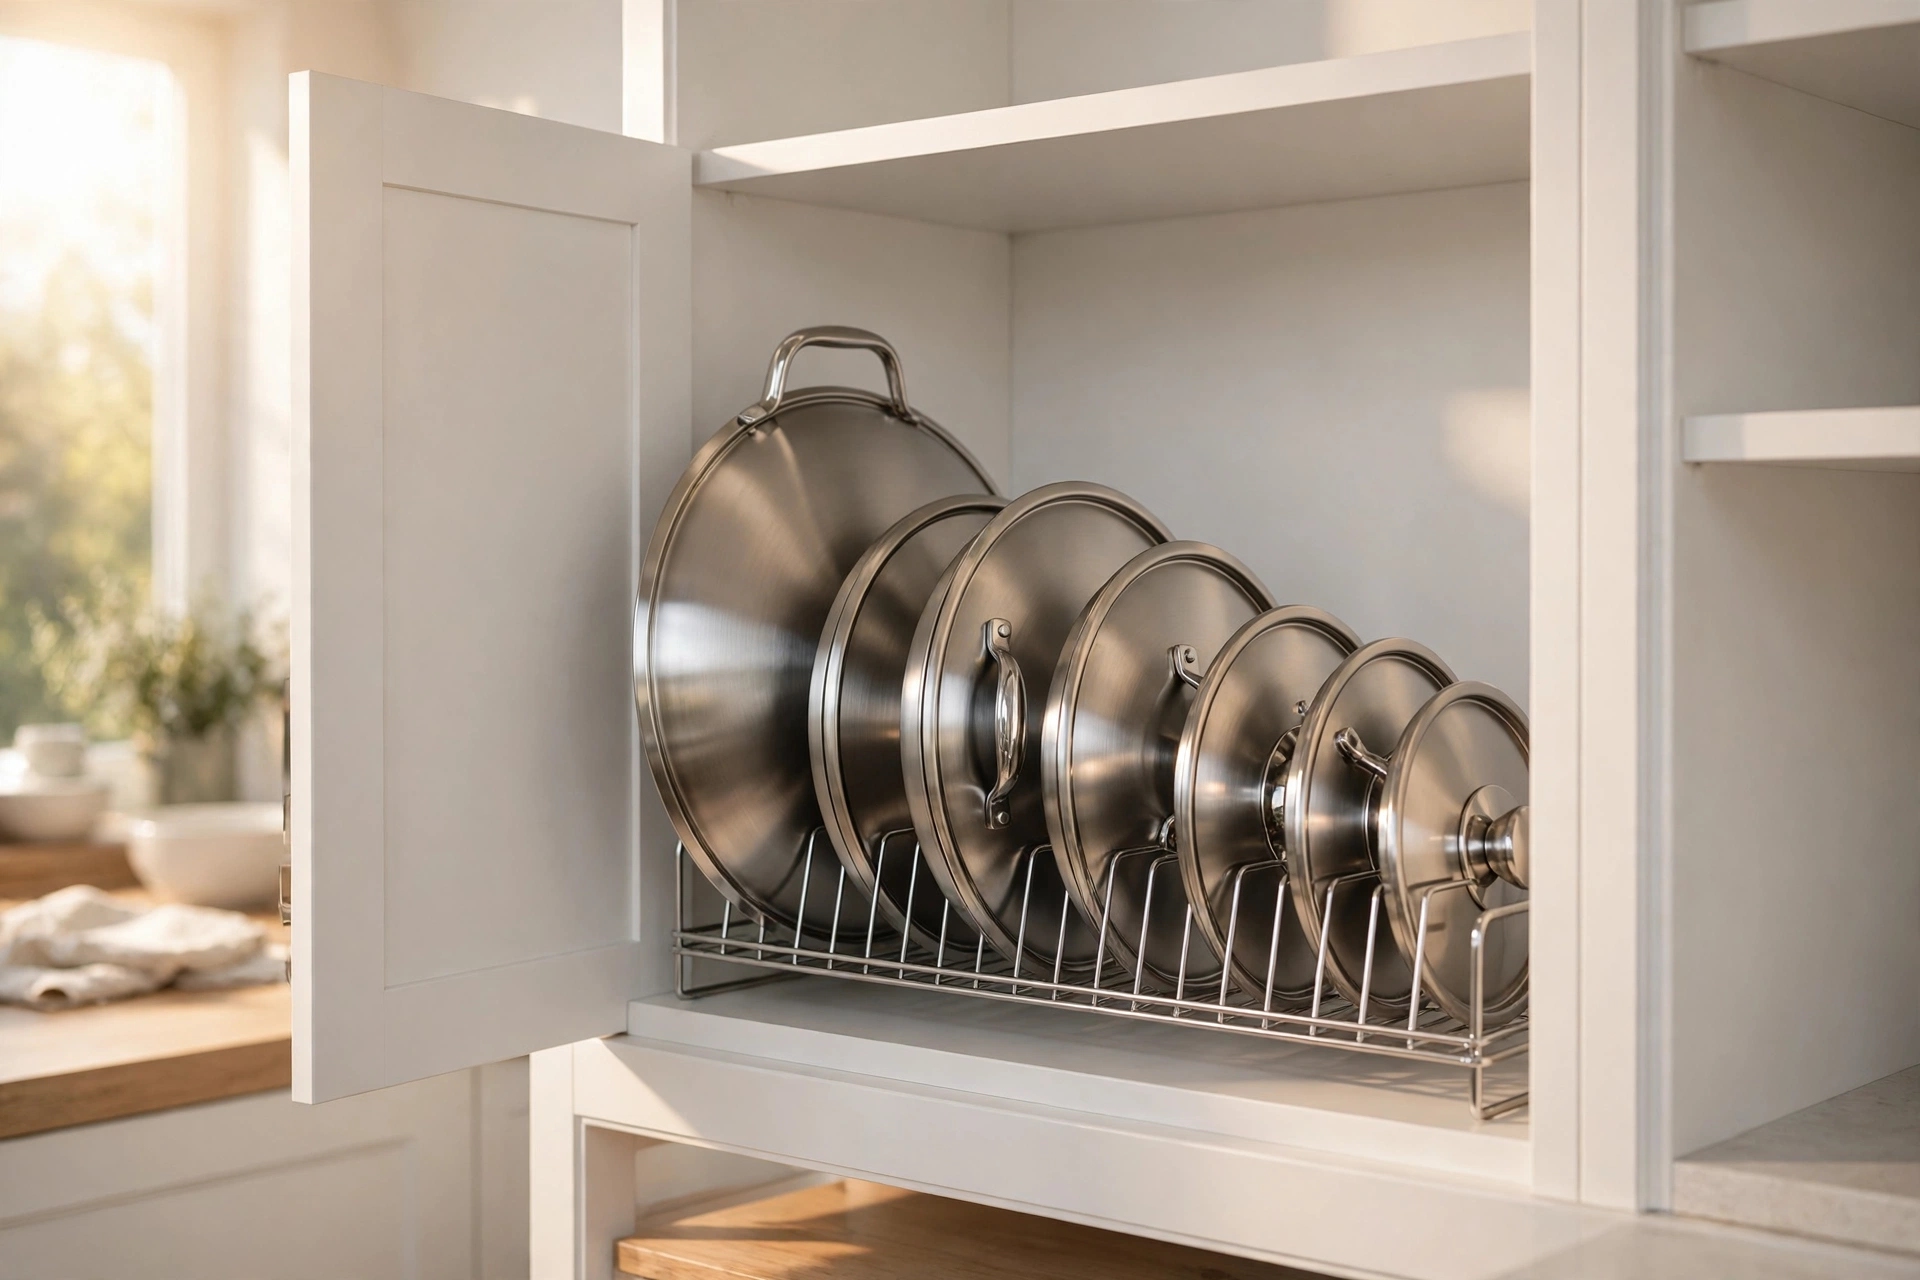
Lids are the hardest part of pot storage, because they slide, clatter, and never stack neatly. A lid organizer — a rack with vertical slots mounted inside a cabinet door or on a shelf — holds each lid upright and separate, so you can pull out the one you need without a noisy avalanche. It instantly calms a chaotic pot cupboard.
Mount the rack on the inside of the cabinet door if space allows, or use a freestanding rack on a shelf. Sort lids by size, largest at the back, and match each lid to its pot the first time you set it up. If you have more lids than pots, be honest about which ones you actually use and donate the extras.
8. Vertical Pan Divider
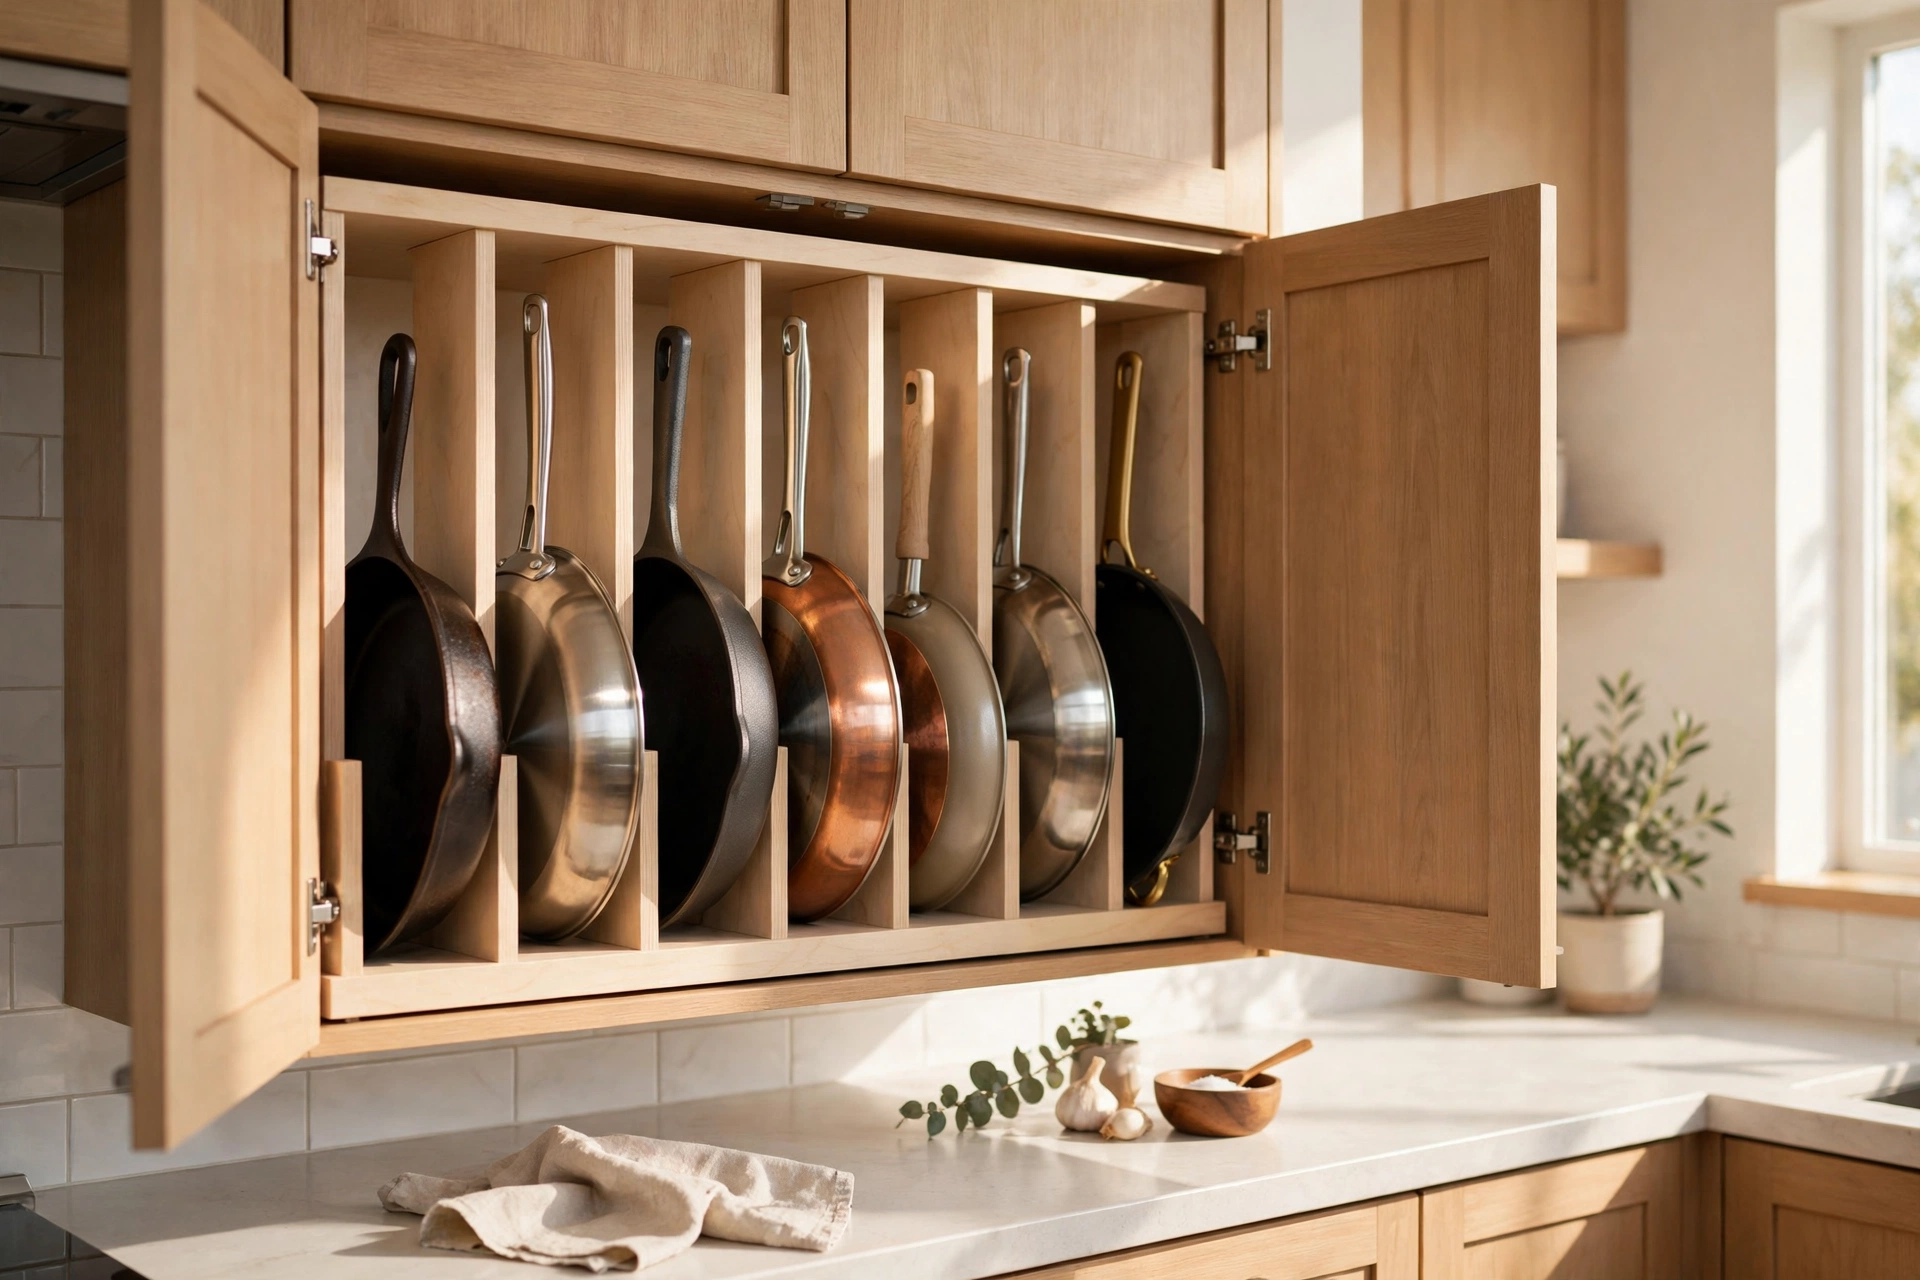
Stacking frying pans one inside another scratches the non-stick coating and makes the bottom pan almost impossible to reach. A vertical divider rack lets each pan stand upright on its edge, like books on a shelf, so you can slide out exactly the pan you want. It protects your cookware and saves your back at the same time.
Use a tension-style divider or a fixed rack sized to your cabinet, and slip a pan protector or a paper towel between pans if any still need to nest. Keep the pan you use most at the front, and store lids separately in their own organizer nearby. This one change makes the whole pot cabinet feel twice as big.
9. Drawer Dividers for Utensils
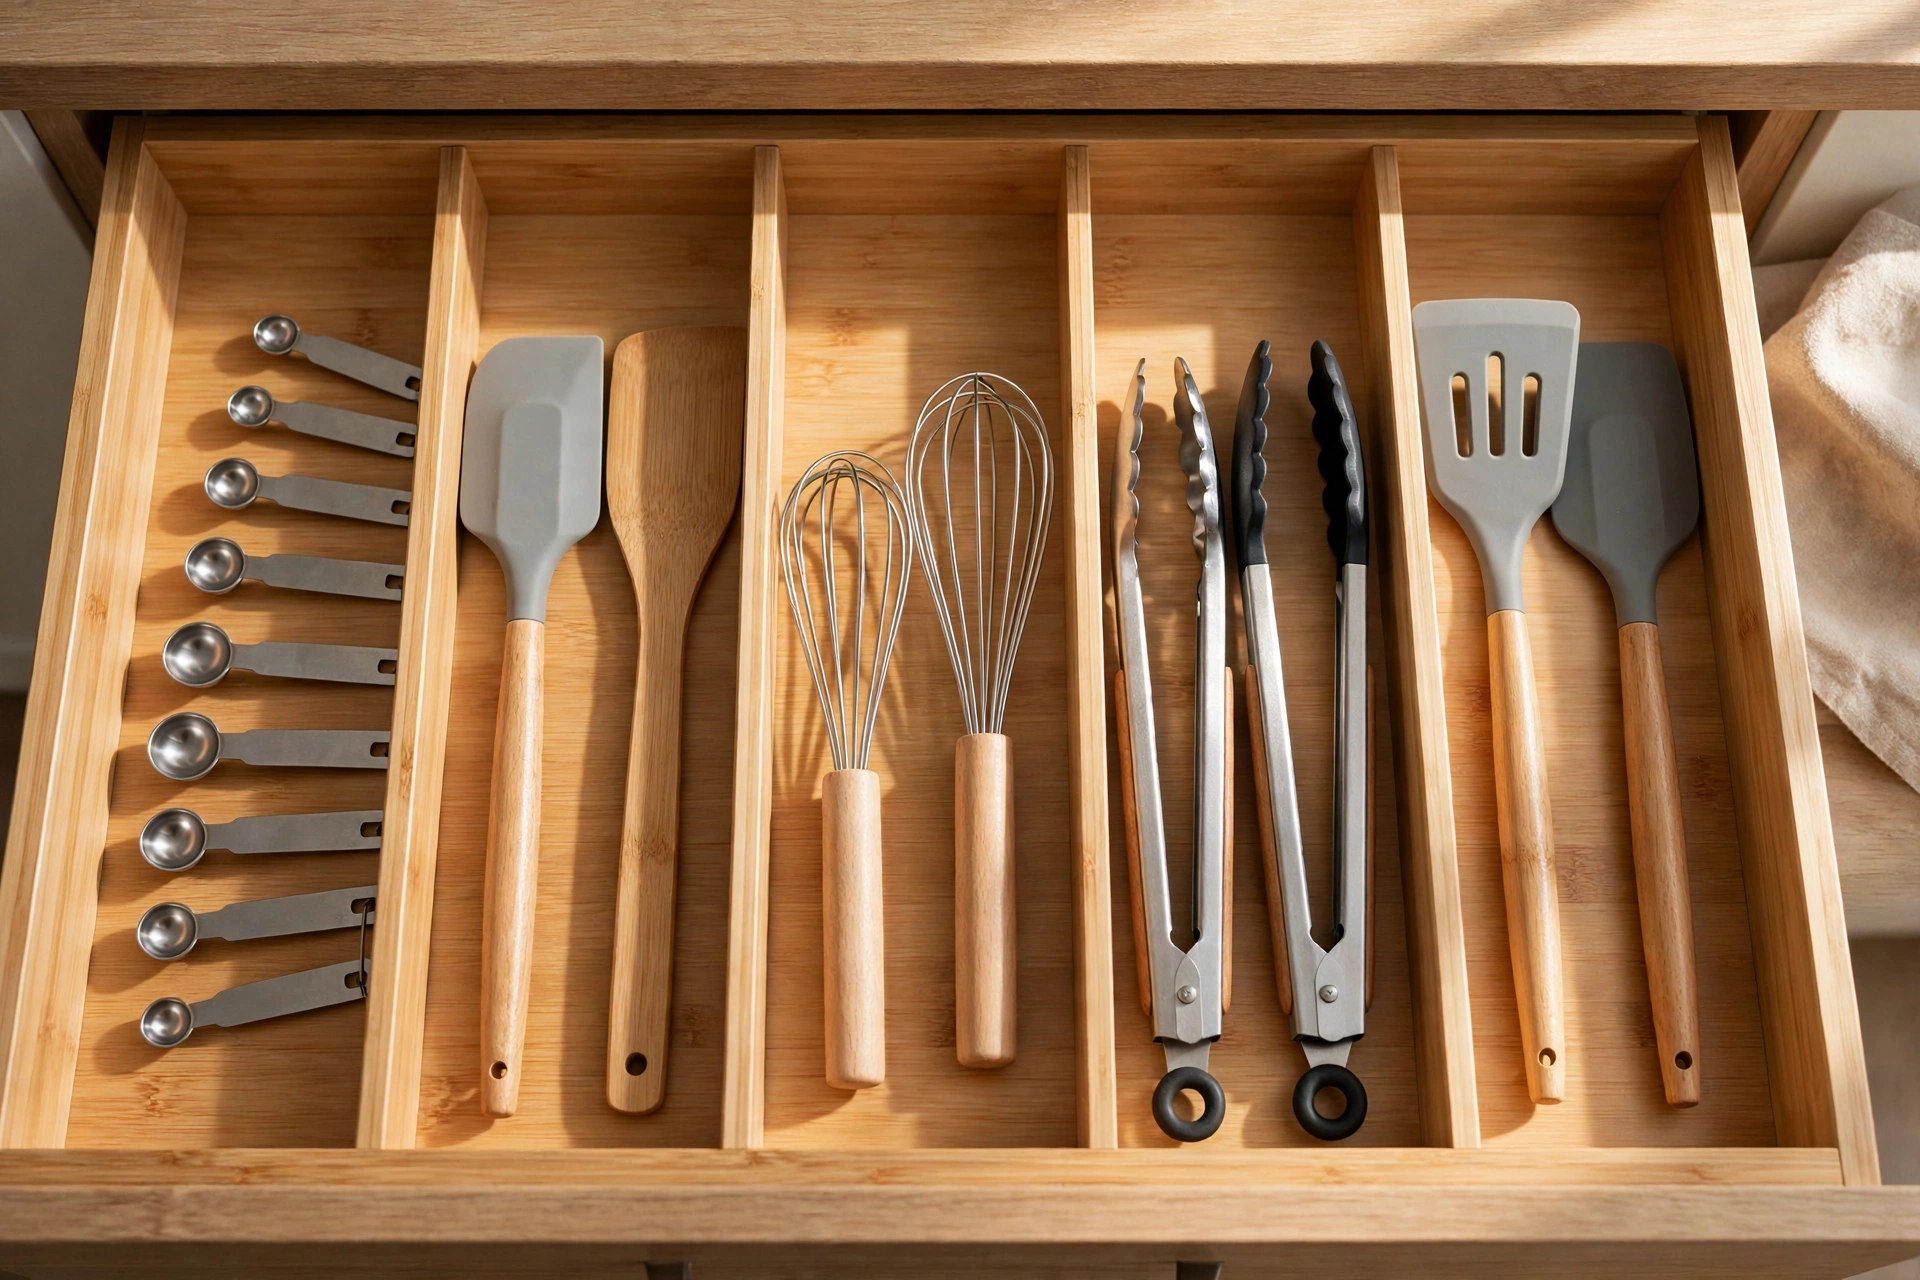
A junk drawer is a kitchen’s junk drawer because everything is loose. Adjustable drawer dividers turn one chaotic drawer into neat lanes for spatulas, tongs, whisks, peelers, and measuring spoons, so each tool has a home and you can see it at a glance. Cooking gets faster when you are not digging for the peeler.
Measure the drawer first, then choose dividers that expand or can be cut to fit — bamboo, plastic, or metal all work well. Group tools by task: cooking tools together, baking tools together, and everyday cutlery in its own tray. Leave one small section empty for the odd items, and clear the drawer out once a month to stop clutter creeping back.
10. Knife Block or Magnetic Knife Strip
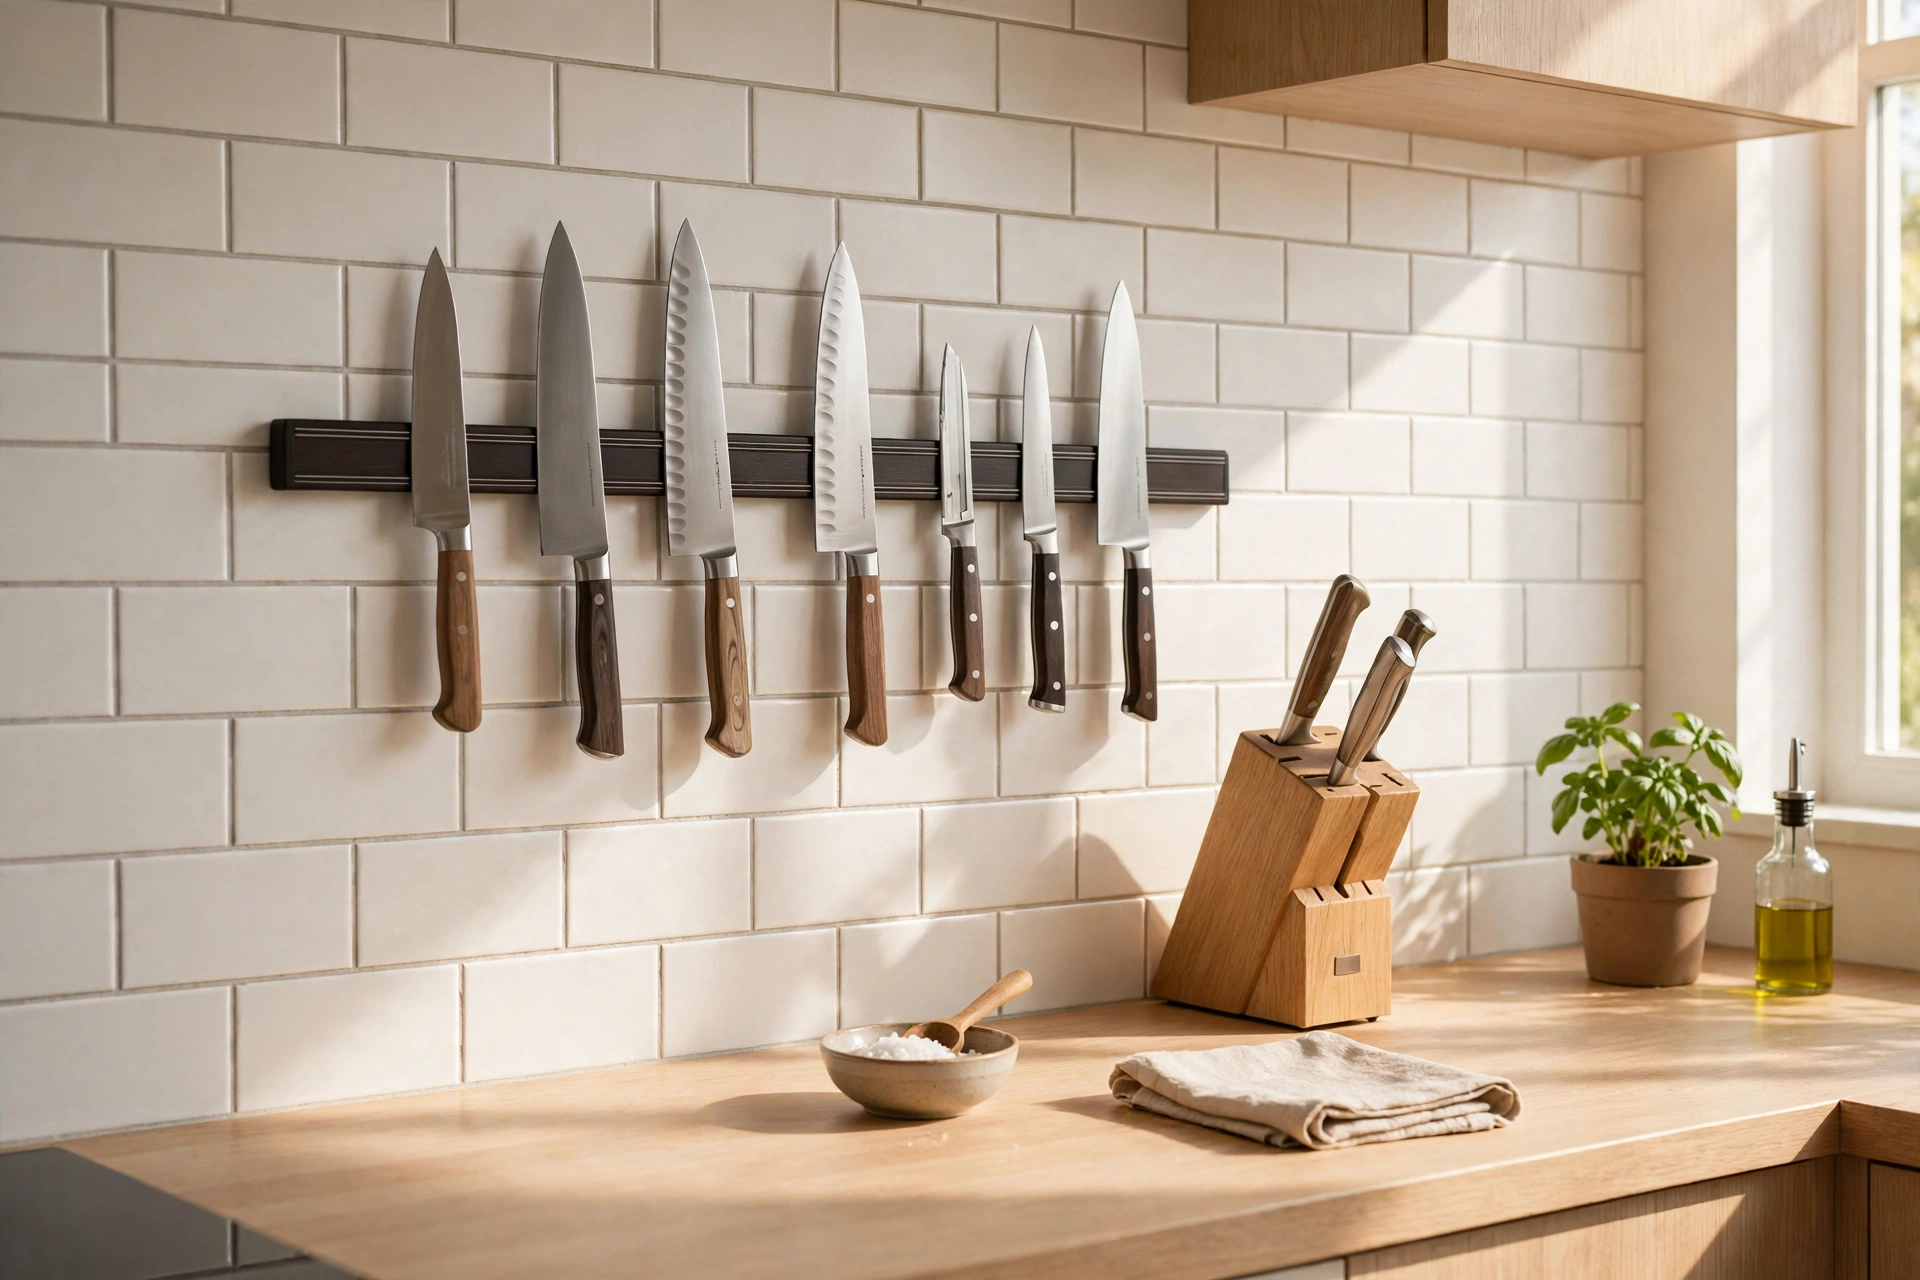
Knives rattling loose in a drawer are dangerous and they blunt quickly. A countertop knife block or a magnetic strip on the wall keeps blades sharp, visible, and safely out of reach of small hands. A magnetic strip also frees up counter space and looks wonderfully professional in any kitchen.
Mount a magnetic strip on the wall near your prep area, away from the stove’s heat, and hang knives with the blades facing up or sideways for safety. If you prefer a block, choose one with slots that fit your actual knives, not a generic set you will never use. Keep only the knives you use weekly on display and store specialty blades elsewhere.
11. Cutting Board File Organizer
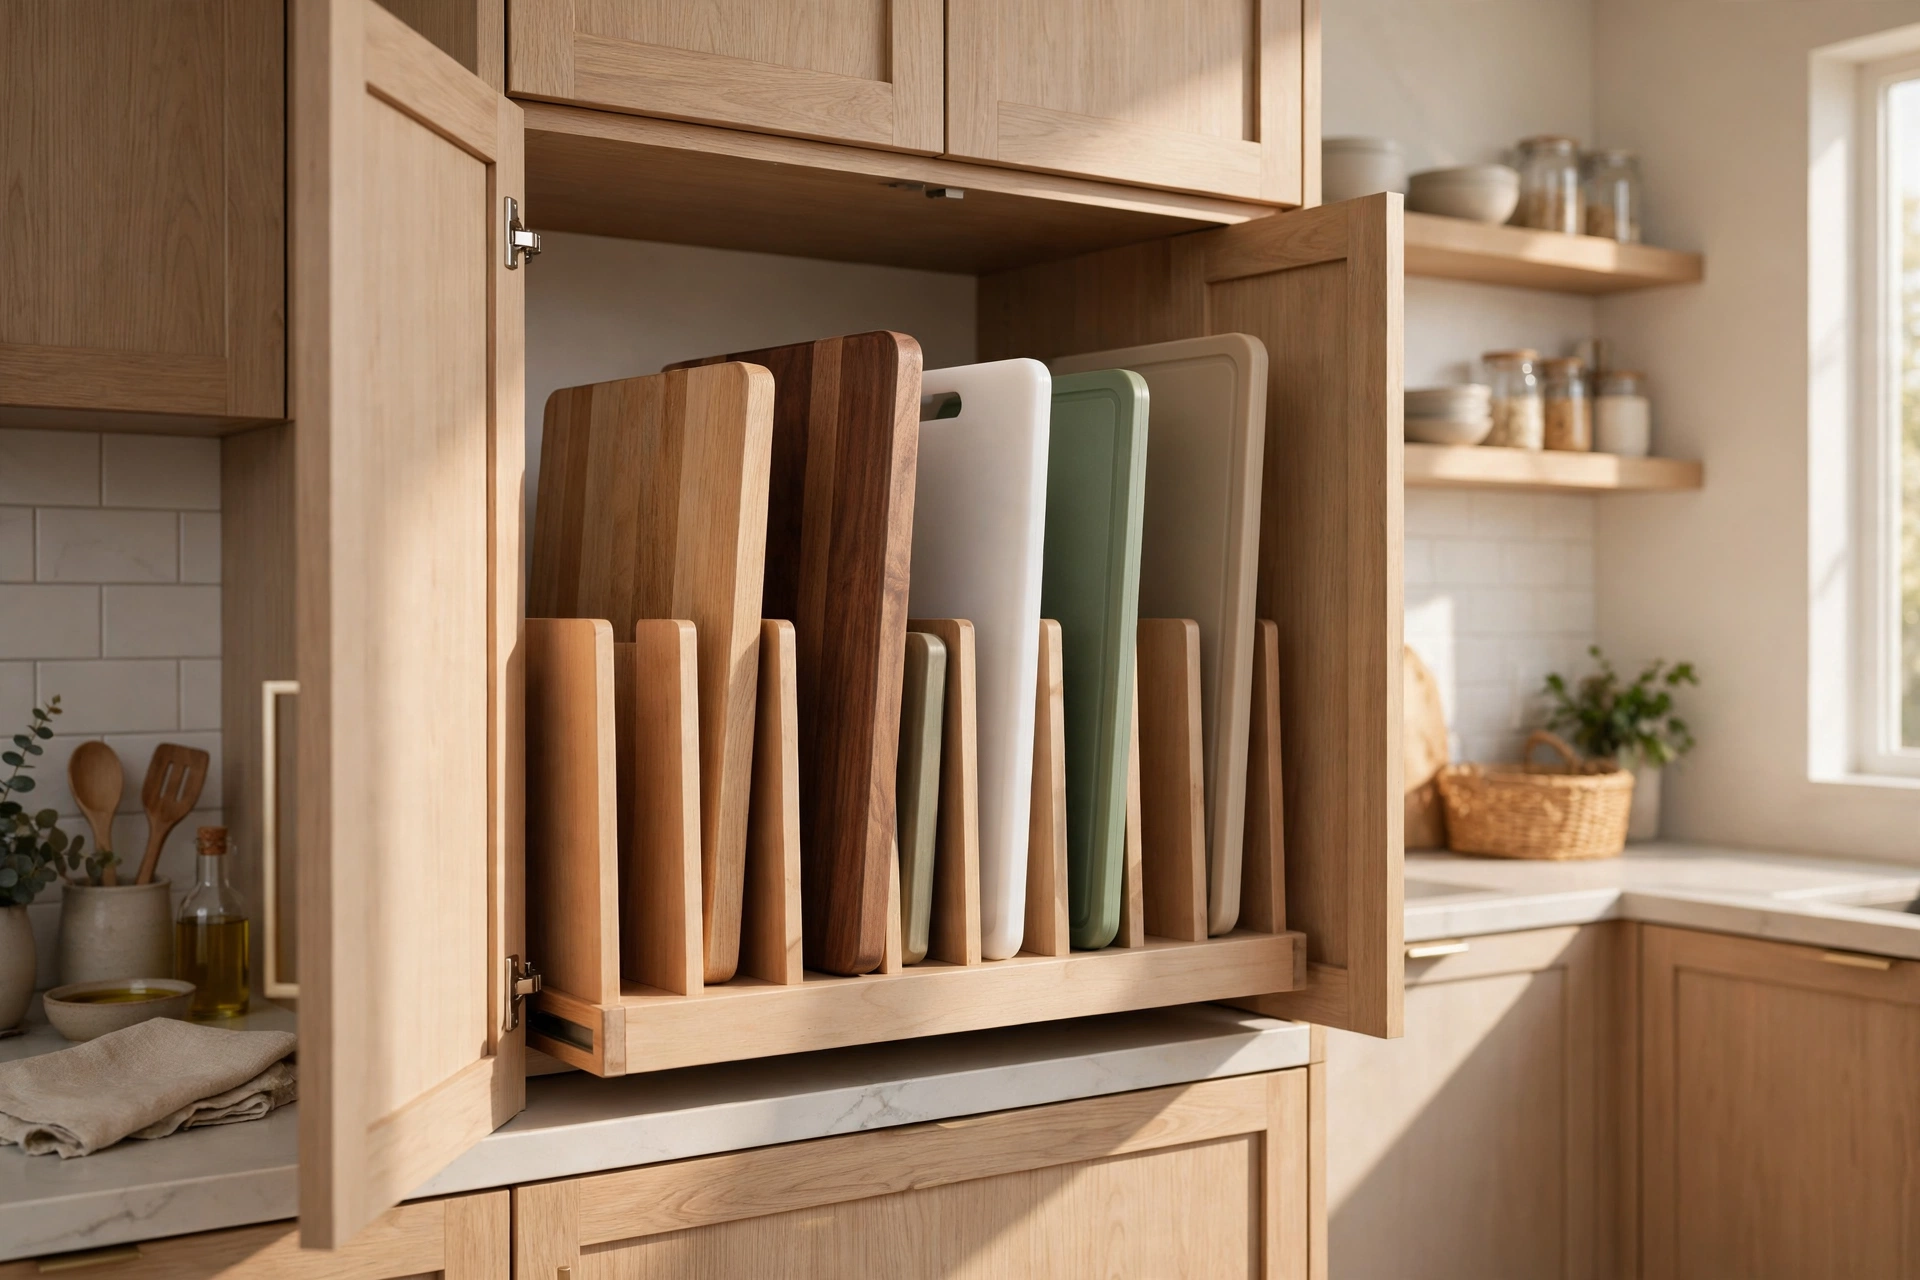
Cutting boards stacked flat in a pile are heavy, awkward, and always the wrong one on top. A file organizer — a simple vertical rack like a magazine holder — stores boards upright on their edges, so you can pull out the small board for an onion or the large board for a roast without lifting the whole stack.
Place the organizer in a cabinet, on a shelf, or even on the counter if you have room. Sort boards by size and by use, with a separate board for raw meat if you follow that rule. Wooden boards need air to dry, so avoid cramming them tightly together, and oil them occasionally to keep them in good shape.
12. Under-Sink Organizer with a Tension Rod
The cabinet under the sink is usually a dark tangle of cleaning bottles and plastic bags, but it can become one of the most useful spots in the kitchen. A tension rod fitted across the cabinet lets you hang spray bottles by their triggers, freeing the floor of the cabinet for bins and boxes below. It costs almost nothing and takes five minutes to install.
Add a small two-tier shelf or a turntable on the cabinet floor for sponges, dishwasher tablets, and bin bags, and hang a small caddy on the door for the items you reach for daily. Keep a bin or a tray under the bottles to catch drips, and check the pipes occasionally for leaks. A tidy under-sink area makes cleaning up after dinner far less of a chore.

13. Lazy Susan for Corner Cabinets
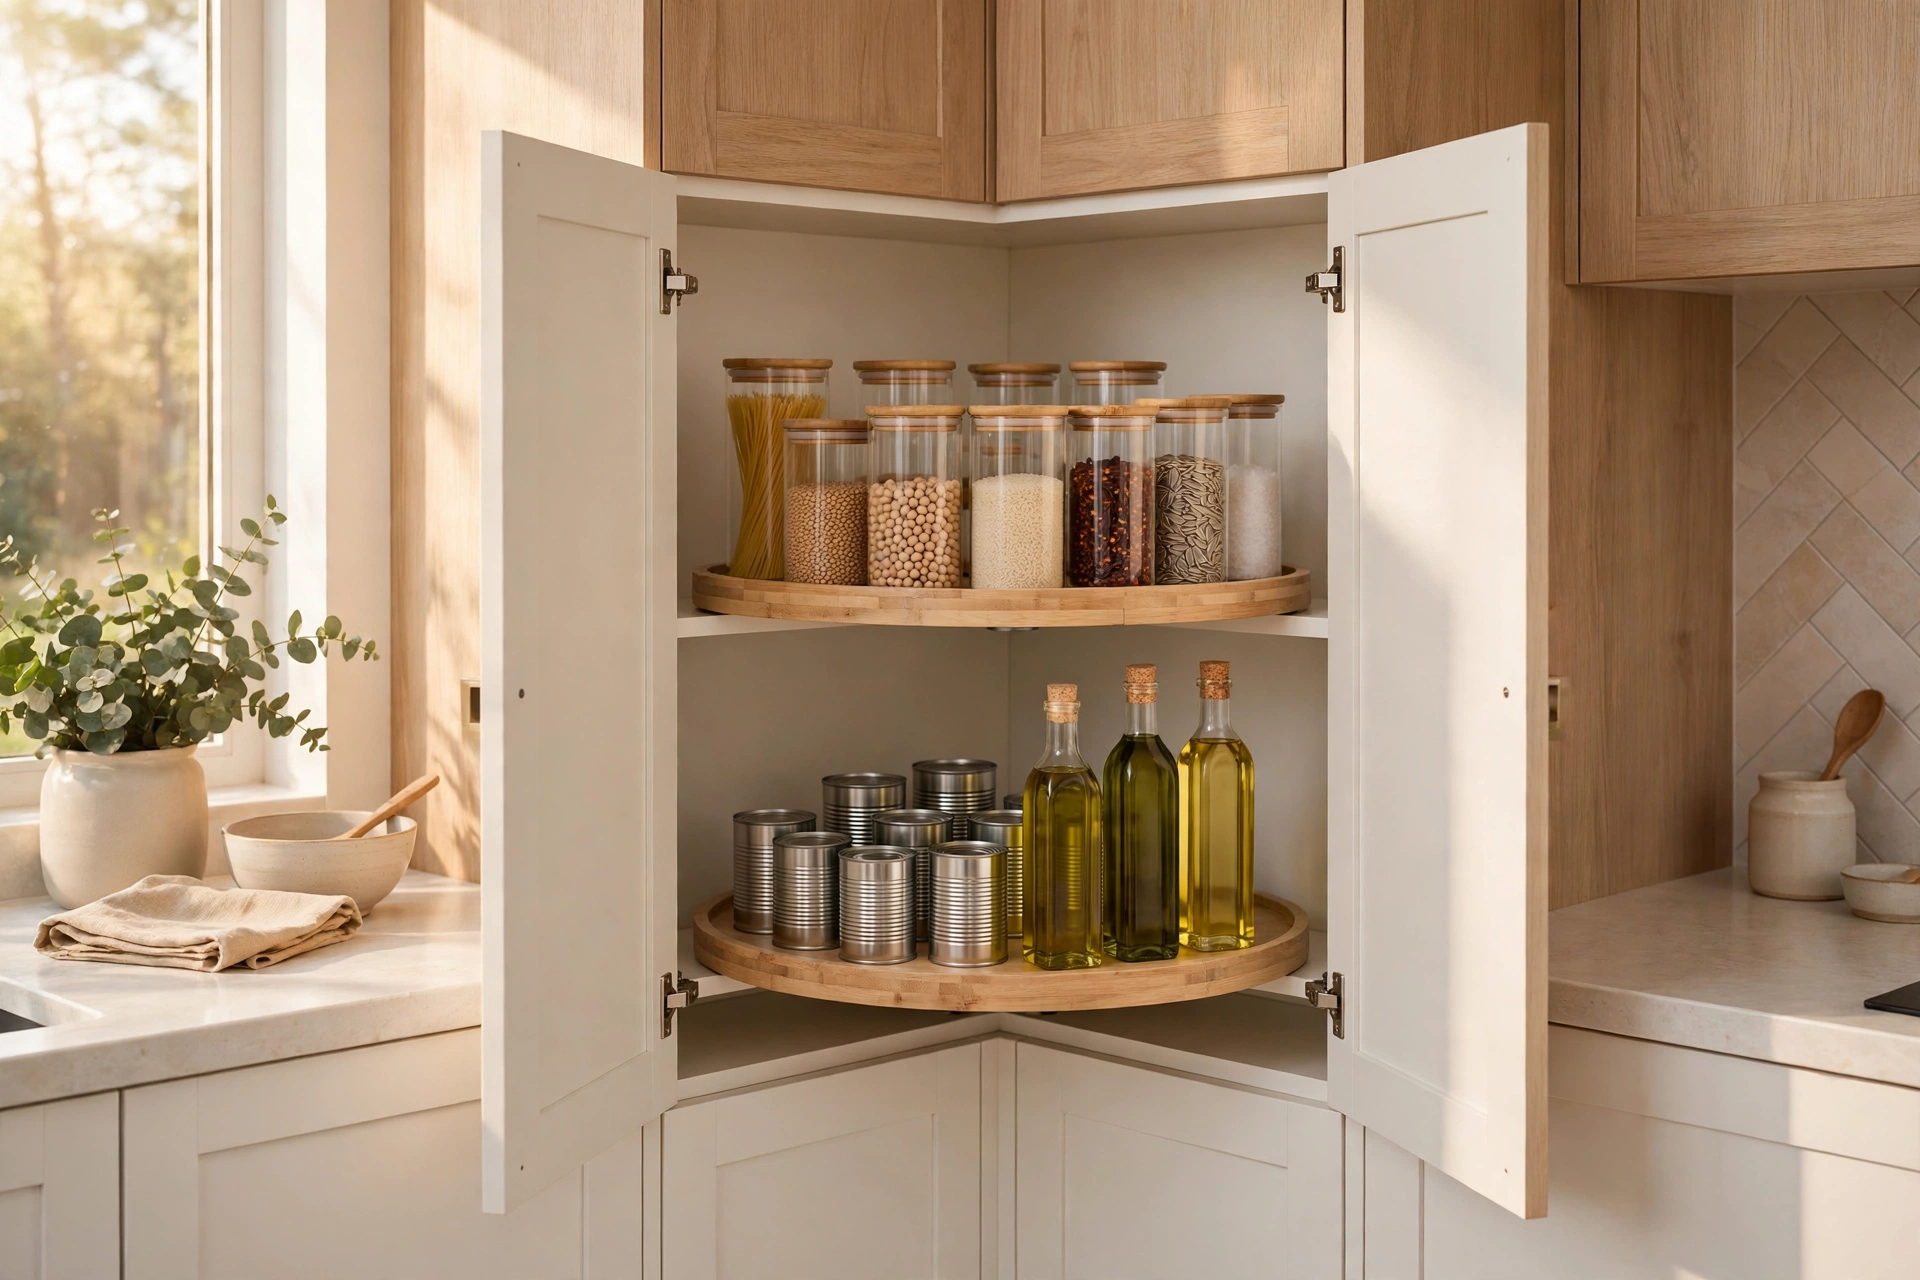
Corner cabinets are the black holes of the kitchen, where tins and jars go to be forgotten. A lazy Susan — a rotating round tray — spins everything into reach with one turn, so the back of the corner is as accessible as the front. It is the single best fix for a blind corner cabinet.
Choose a two-tier lazy Susan for tall corners, with the most-used items on the top tier and heavier items below. Add small bins on the tray to stop jars sliding when it spins, and label the bins so everyone knows where things live. A lazy Susan also works brilliantly in a pantry for oils, vinegars, and sauces.
14. Turntable in the Fridge
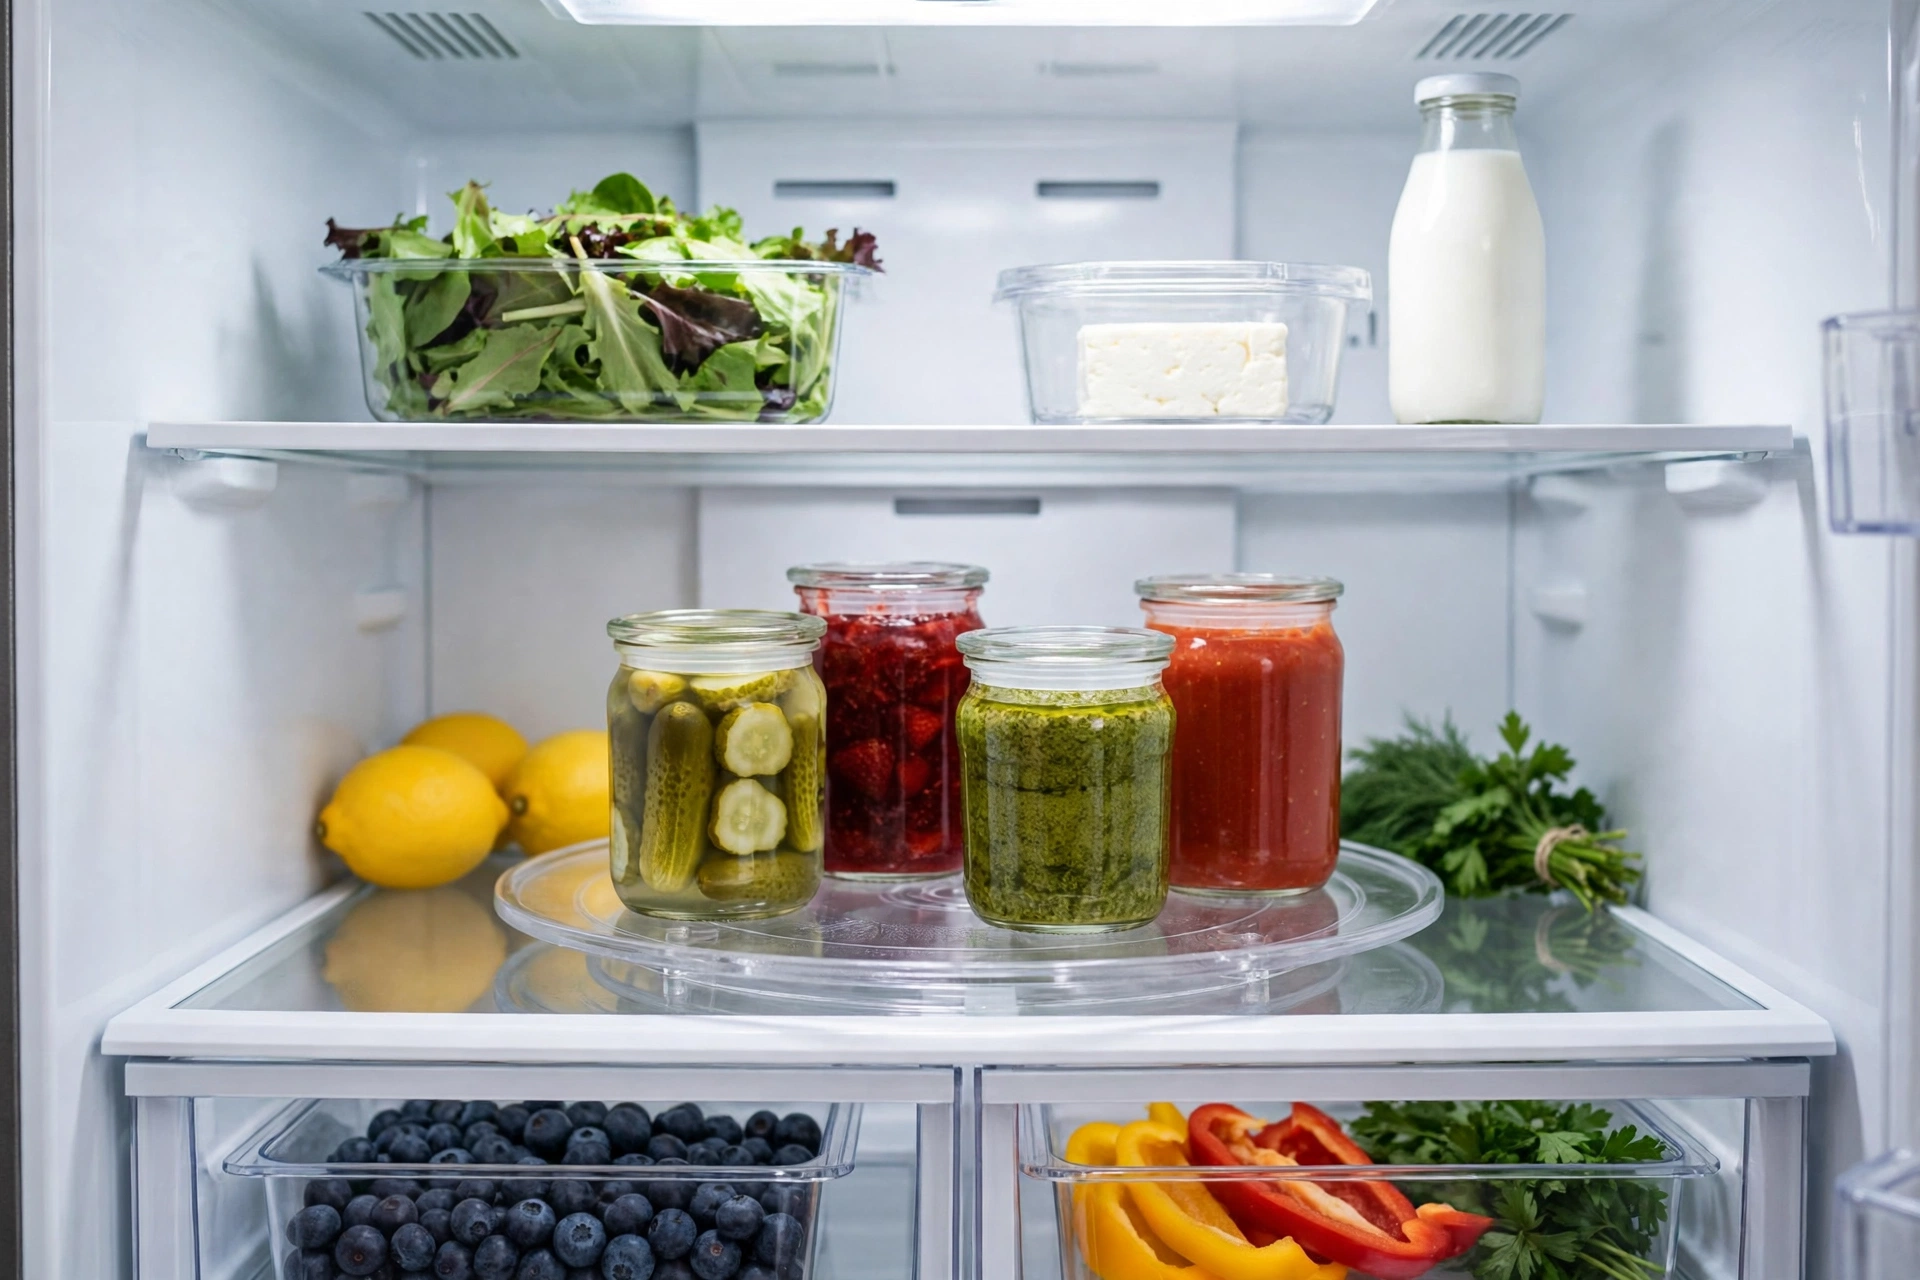
A turntable is not just for cabinets — a small one in the fridge stops jars and condiments from hiding at the back until they expire. Spin it once and you can see every sauce, pickle, and jam, which means less food waste and fewer duplicate purchases. It is a tiny change with a surprisingly big payoff.
Pick a turntable that fits your fridge shelf with room to spin freely, and keep like items together on it: sauces on one, breakfast spreads on another. Wipe it down weekly when you check dates, and toss anything past its best before it starts a science experiment. A fridge turntable is one of the cheapest organization upgrades you can buy.
15. Stackable Shelf Risers in Cabinets
Most kitchen cabinets have a huge gap of empty air above the mugs and plates, and shelf risers claim that wasted space. A small stackable riser creates a second level inside the cabinet, so you can store mugs below and bowls above, or plates on two levels instead of one tall, wobbly stack. It effectively doubles your shelf space.
Measure the height of your tallest items before buying risers, and choose sturdy metal or bamboo ones that will not wobble under a stack of plates. Use risers in the mug cabinet, the glass cabinet, and the pantry for canned goods. They need no installation at all — just place them in and start stacking smarter.

16. Over-the-Door Pantry Rack
The inside of the pantry door is free storage that most kitchens ignore. A slim over-the-door rack holds spices, sauces, snacks, and small jars in shallow baskets, using vertical space that would otherwise be wasted. It keeps everyday items visible and within reach the moment you open the door.
Choose a rack that is shallow enough for the door to close easily, and check the depth so it does not bump into shelves. Keep heavy jars on the lower baskets and light items up top, and avoid overloading the door hinges. In a rental, an over-the-door rack is perfect because it needs no screws or drilling.

17. Hooks Inside Cabinet Doors
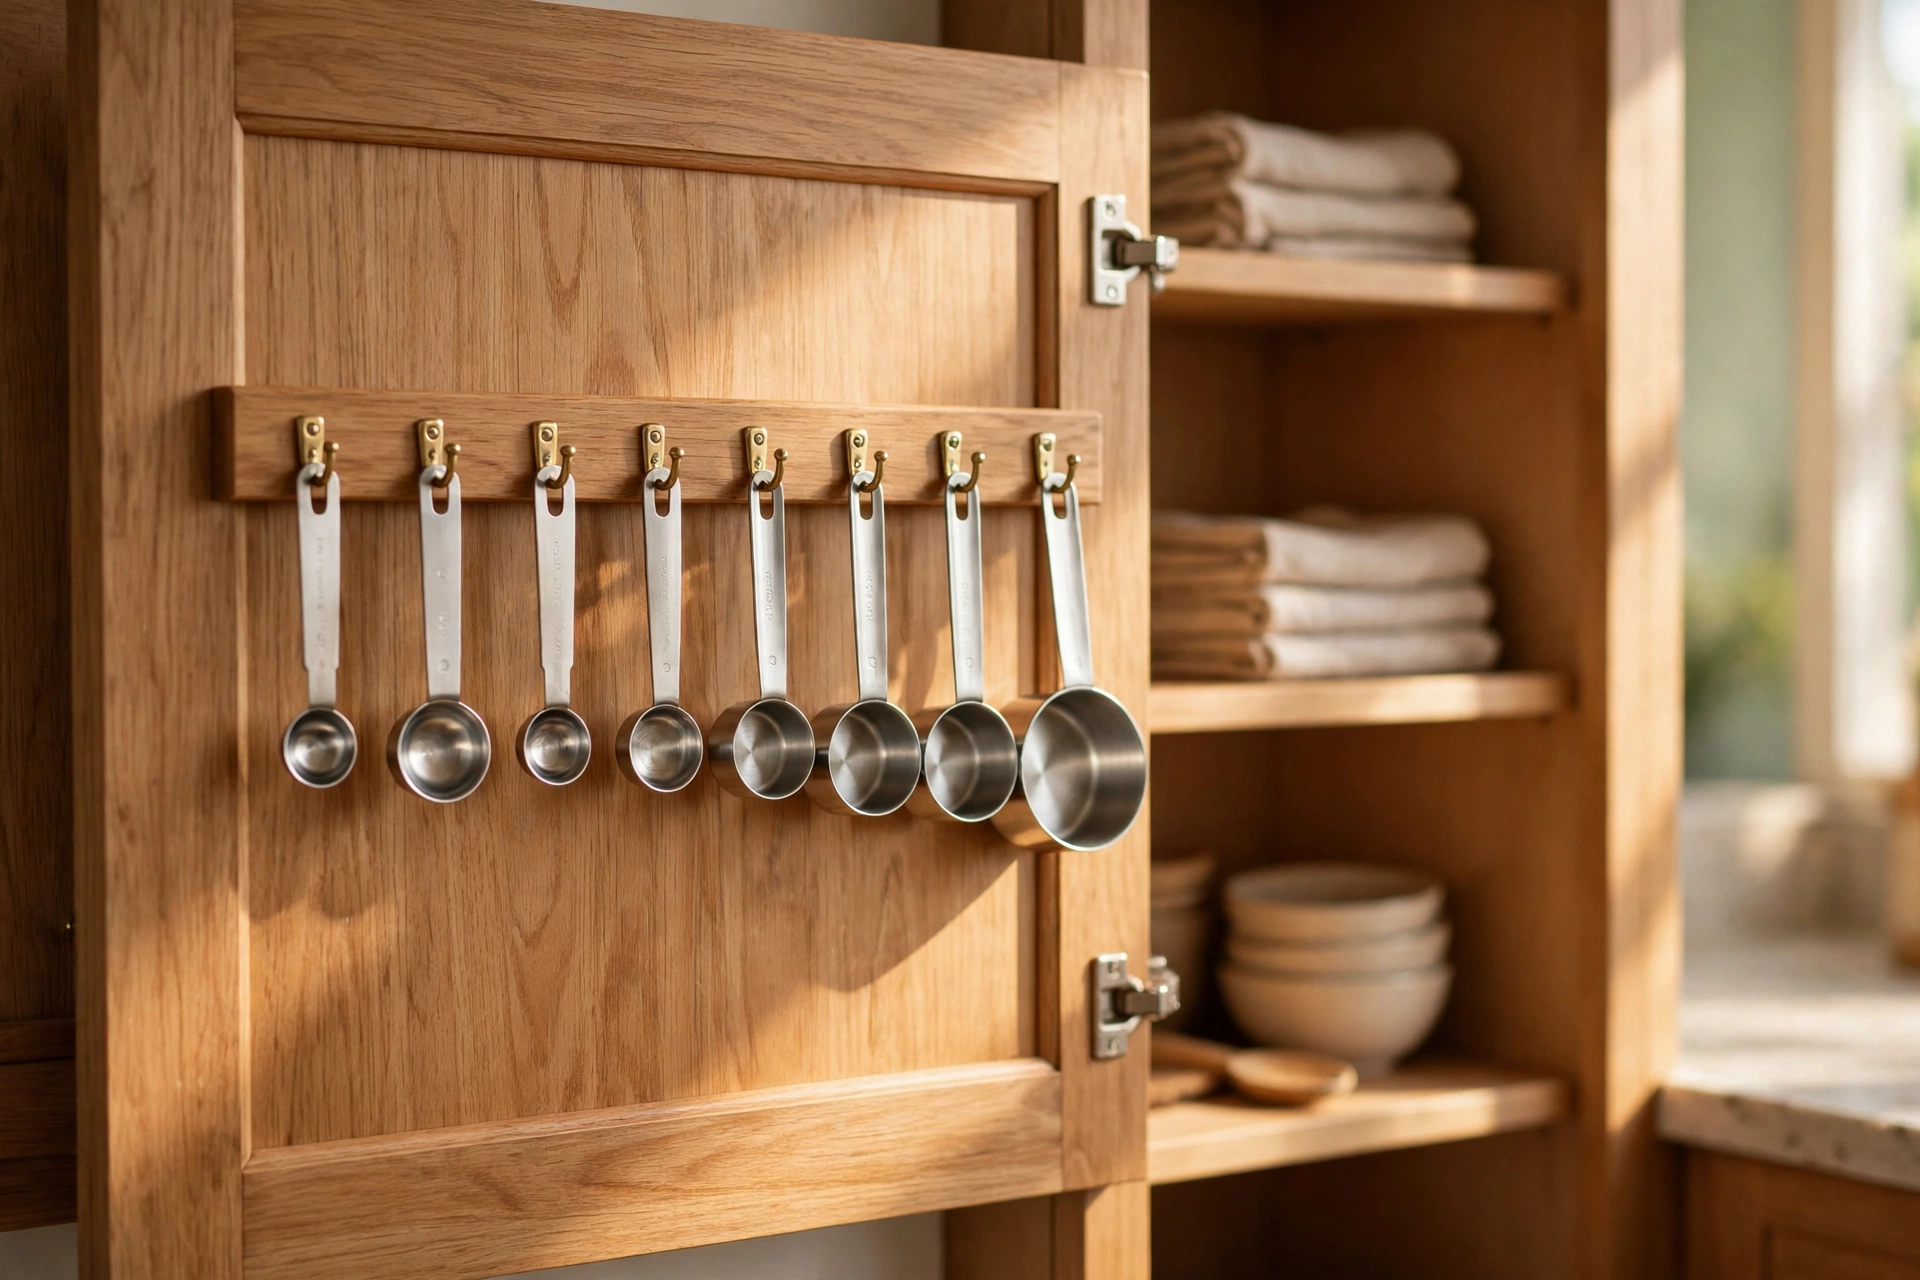
The inside of a cabinet door can hold measuring cups, spoons, and small tools on simple adhesive or screw-in hooks, turning dead space into handy storage. Hang measuring cups in size order, or keep the potato peeler and can opener where you can grab them without opening a drawer. It is a five-minute job that pays off every day.
Use strong adhesive hooks if you are renting, or small screw hooks for a permanent fix, and check the door still closes with items hanging. Keep the hooks shallow so nothing knocks against the shelves inside. This trick works on pantry doors for aprons and oven mitts too, keeping them handy but out of sight.
18. Mug Hooks Under Shelves
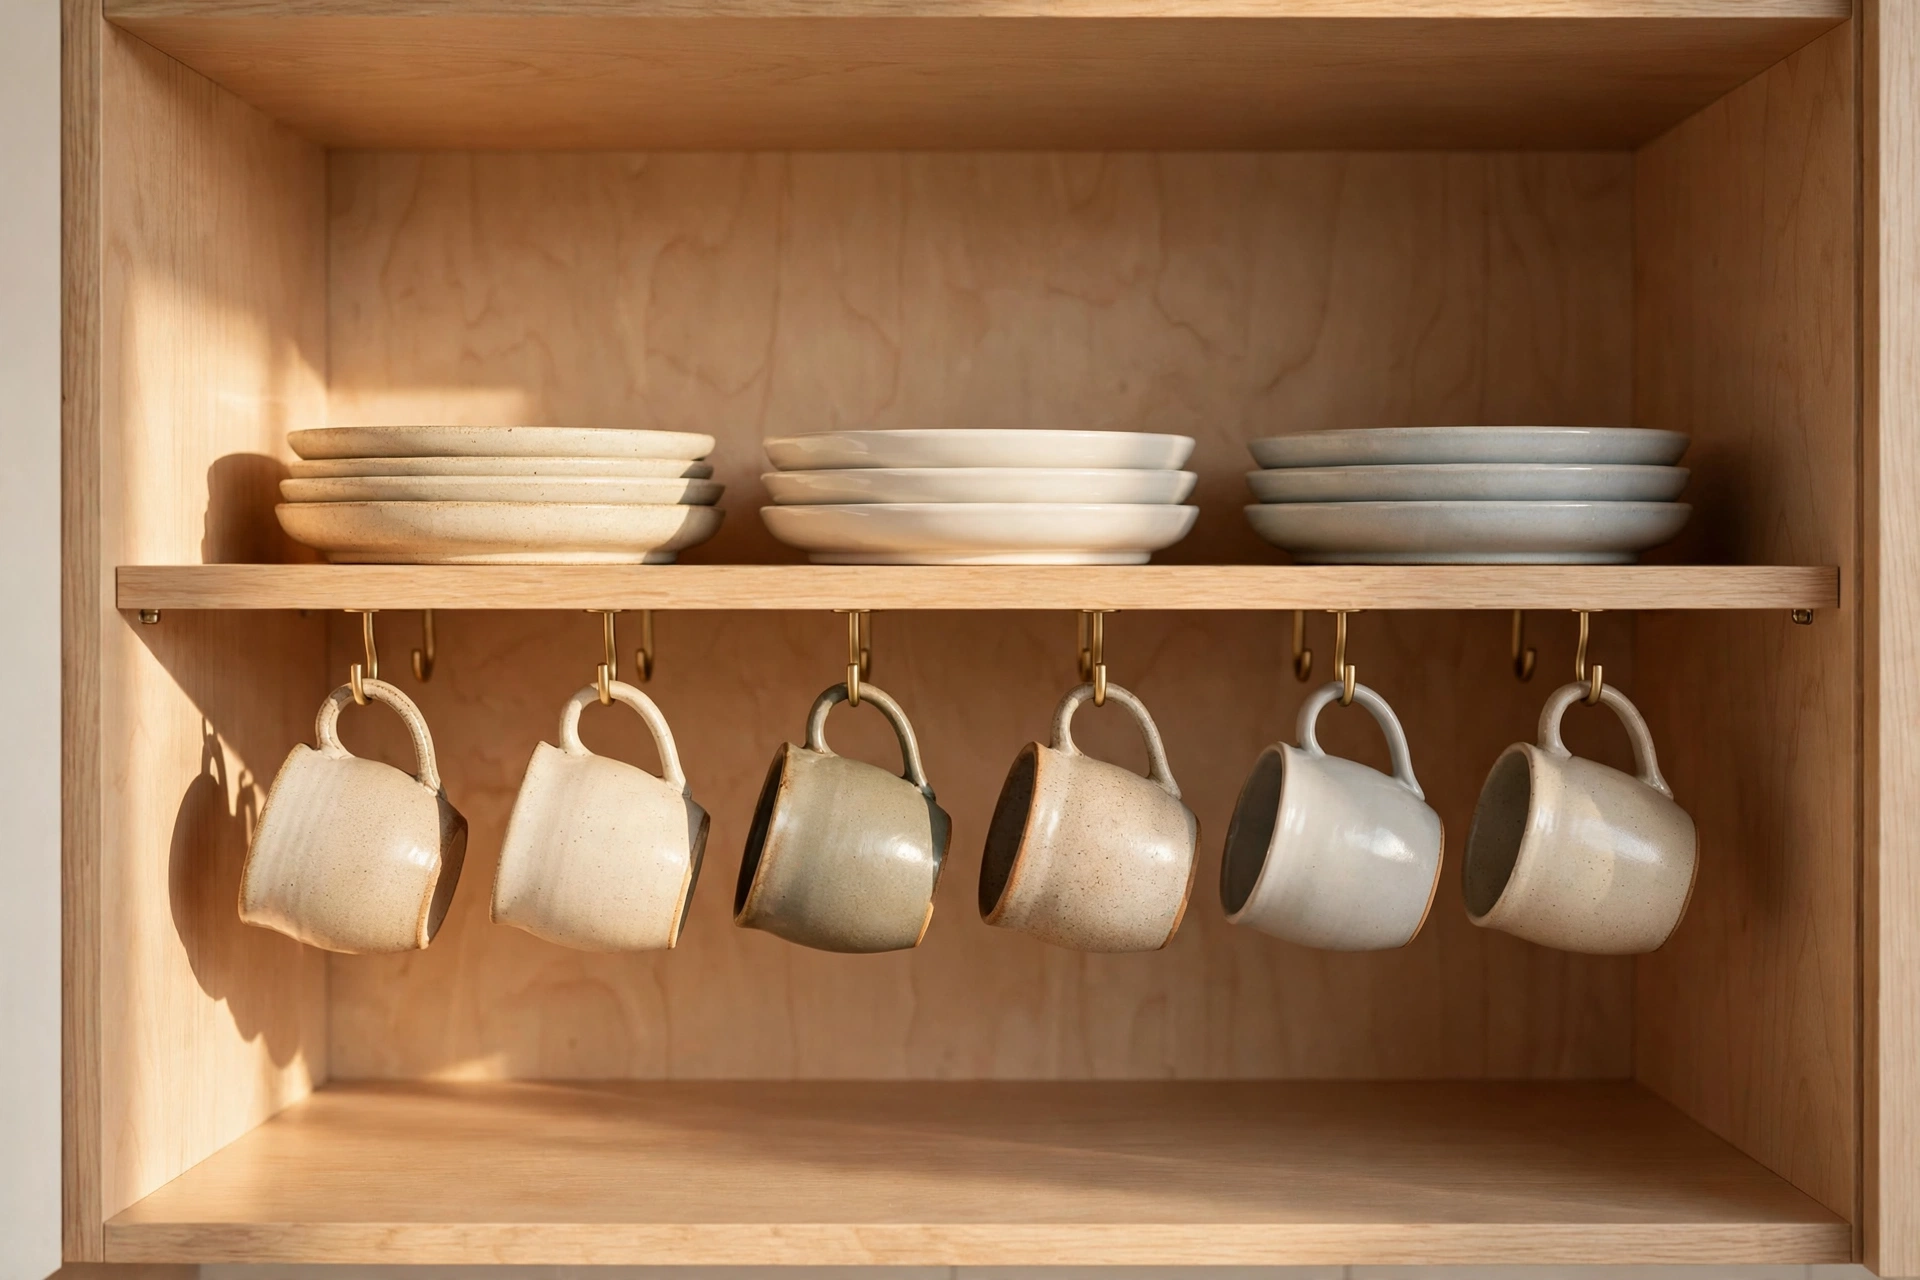
Mugs take up a surprising amount of cabinet space when they sit on a shelf, but hanging them underneath a shelf uses air space that is otherwise empty. Small hooks screwed into the underside of a shelf let mugs dangle neatly in a row, freeing the shelf above for plates or bowls. It also makes your favourite mugs easy to see and grab.
Space the hooks evenly so mugs do not knock together, and hang them by their handles so they sit flat against the shelf. If you are renting, look for clip-on under-shelf mug hooks that need no screws. Keep the everyday mugs at the front and the special occasion ones at the back, or display a matching set for a tidy, intentional look.
19. Pot Rail and Hanging Pot Rack
A hanging pot rack turns your most-used pots and pans into a display and frees an entire cabinet for other things. A ceiling-mounted rack or a wall rail with S-hooks holds pots by their handles, so you can see and reach every pan at a glance. It gives a kitchen a professional, chef-like feel and works especially well in kitchens with high ceilings.
Hang pots with enough space between them so they do not clang together, and keep the heaviest pans closest to the wall mounts for safety. Only hang the pans you use weekly — the rest can stay in a cabinet. A rail above the stove or the island keeps cookware exactly where you cook, which shortens every meal prep.

20. Countertop Appliance Garage
Small appliances can take over a countertop until there is no room left to actually cook. An appliance garage — a small cabinet or a pull-down shutter cupboard on the counter — hides the toaster, kettle, and blender behind a door while keeping them plugged in and ready. Open the door, use the appliance, close it, and the counter looks clear again.
If a built-in garage is not an option, group appliances on a single tray at one end of the counter and keep only the daily-use ones out. Store the weekly appliances, like the food processor or stand mixer, in a cabinet or on a high shelf. A clear counter makes cooking calmer and the kitchen look twice as big.

21. Clear Countertop Landing Zone
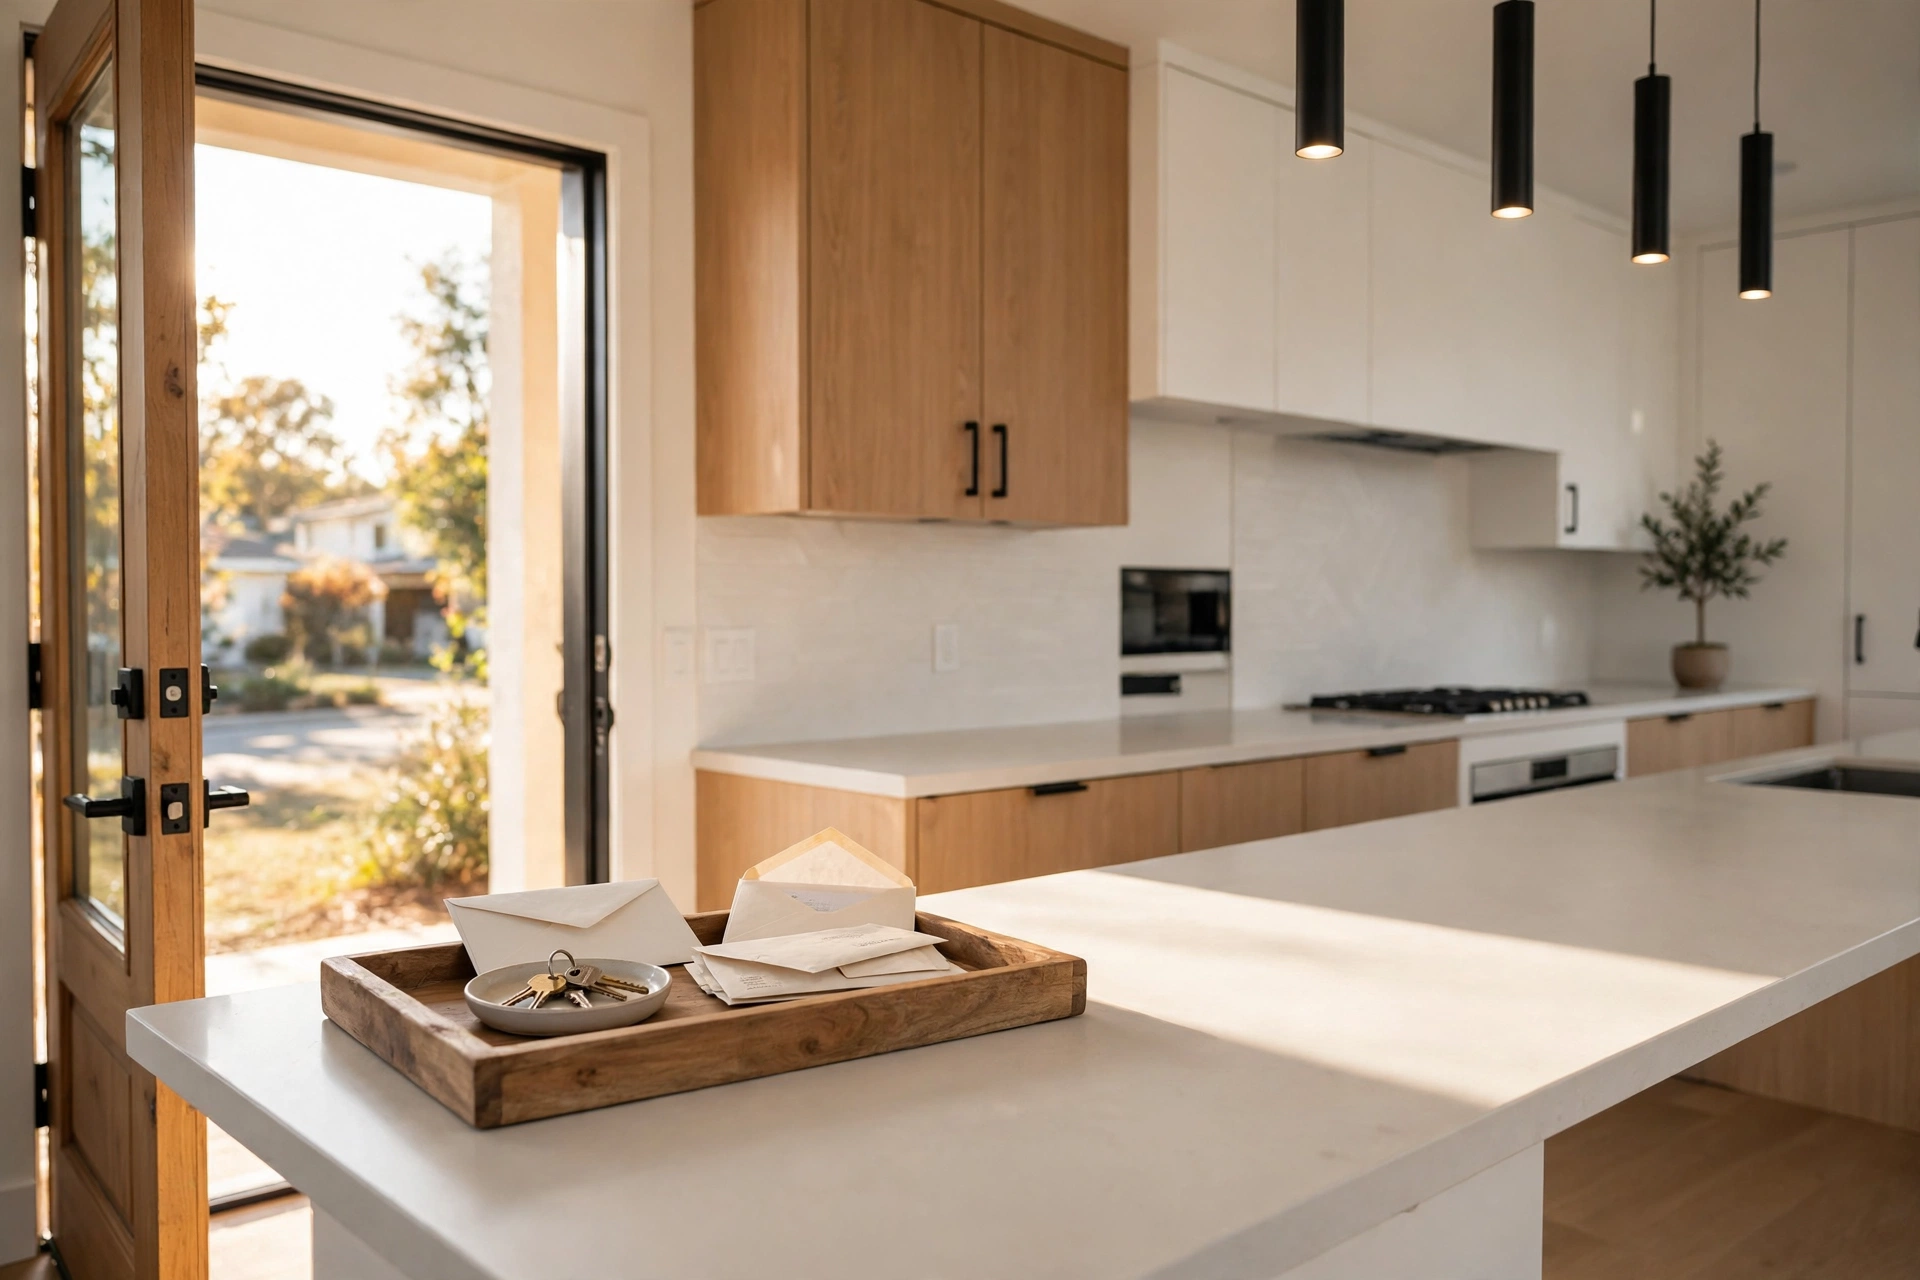
Every kitchen needs a landing zone — one clear stretch of counter where bags, keys, and mail land when you walk in, instead of spreading across every surface. A tray or a small basket on that spot contains the clutter, and a rule that nothing else lives on the counter keeps the rest of the workspace free for cooking.
Choose a spot near the door or the fridge for the landing zone, and keep it small so it does not creep. A tray with a phone charger, a small dish for keys, and a slot for post is all it needs. Once the landing zone exists, make it a habit to clear it every evening, so the kitchen starts each morning clean and calm.
22. Breakfast Station and Coffee Station
A dedicated breakfast or coffee station gathers everything for the first meal of the day in one place — mugs, coffee or tea, sugar, cereal, and bowls — so mornings run on autopilot. Set it up on a small stretch of counter, a shelf, or a rolling cart, and the rest of the kitchen stays free while breakfast happens in one tidy zone.
Keep the station stocked the night before if mornings are rushed, and store the mugs on hooks above or beside it. A small tray keeps spills contained and makes the station easy to wipe down. Children can help themselves from a low breakfast station, which builds independence and saves you a dozen morning trips across the kitchen.

23. Baking Station
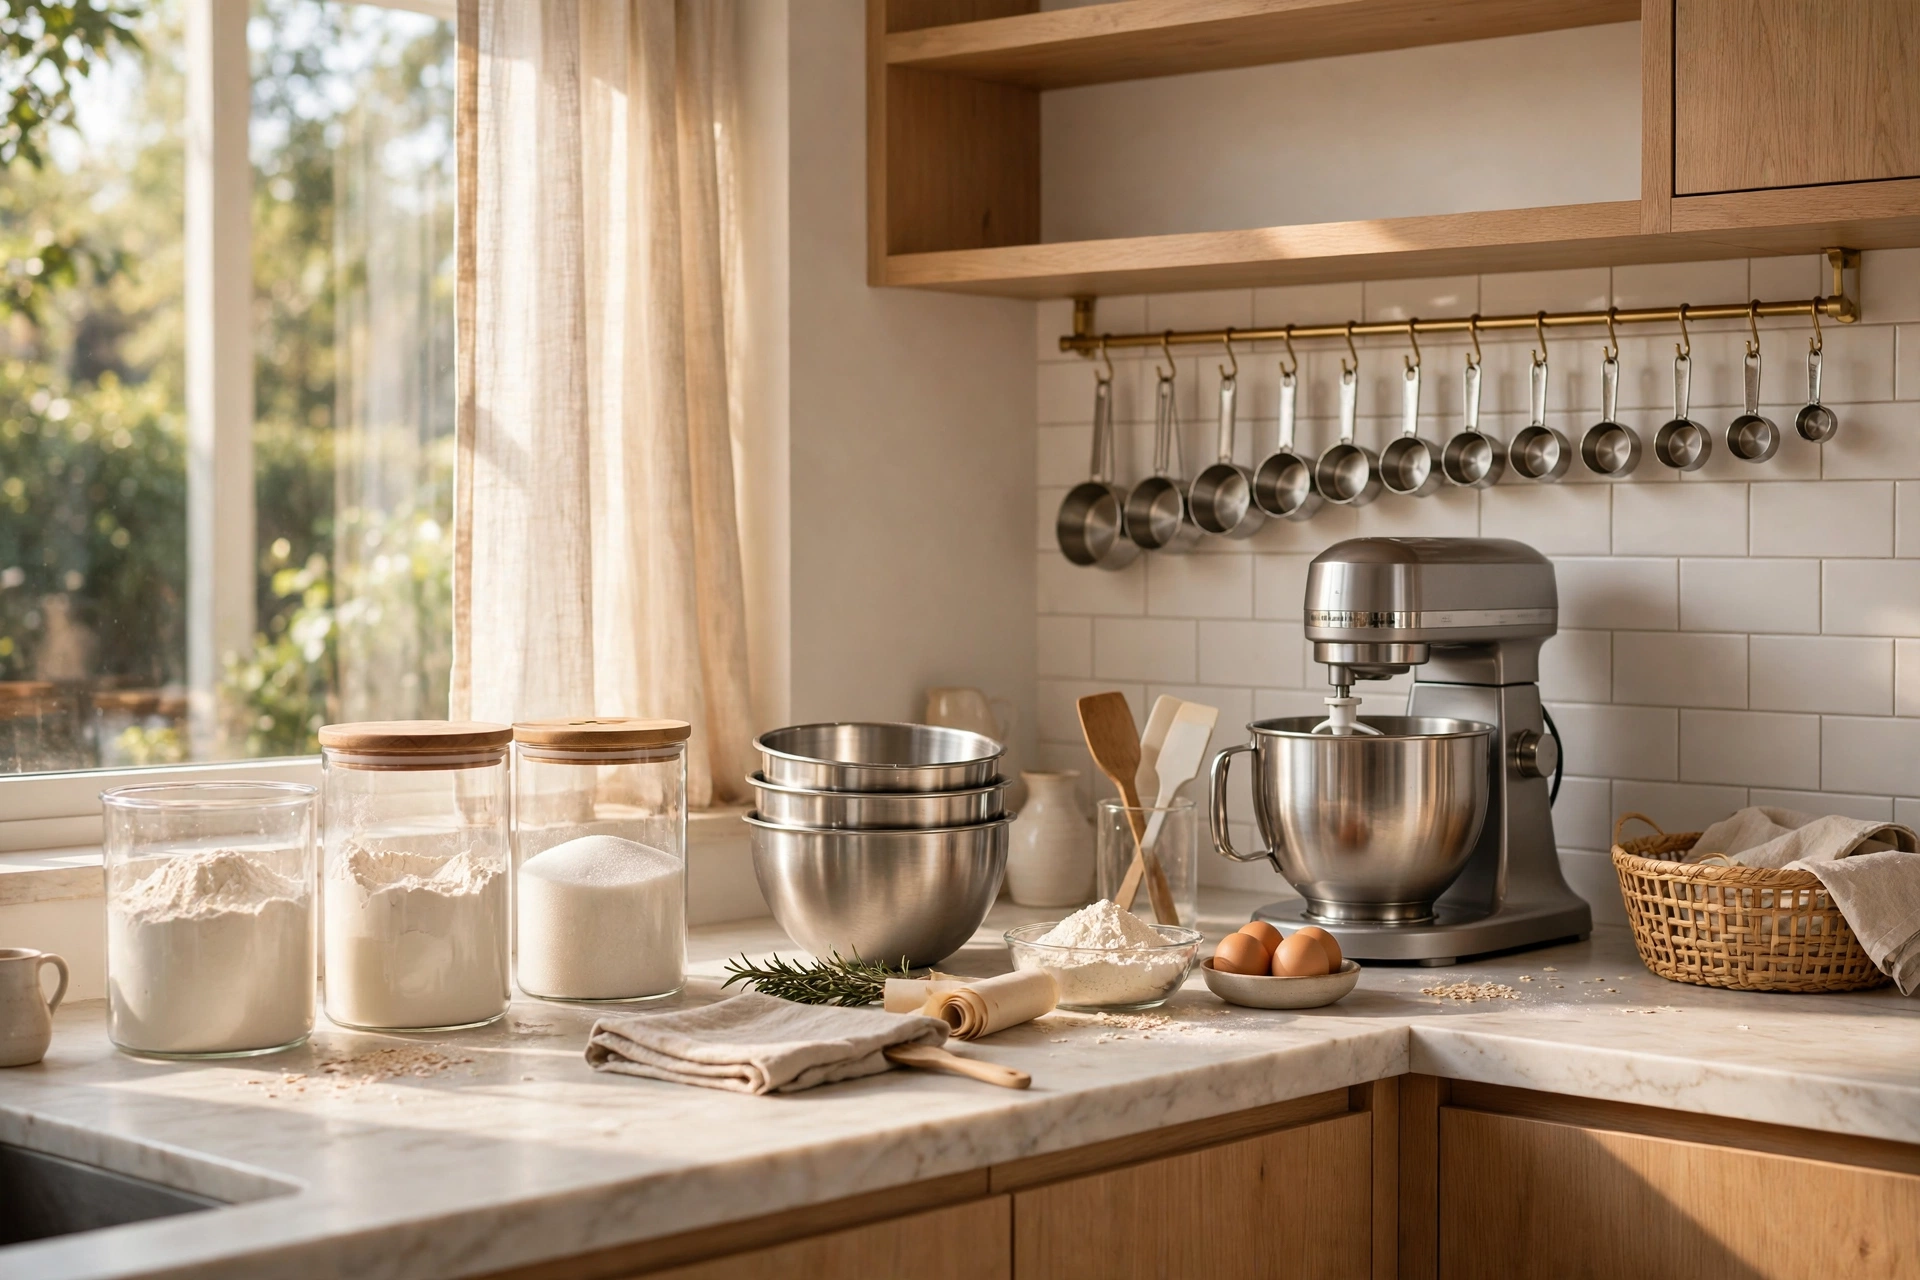
Bakers know the pain of gathering flour, sugar, measuring cups, and mixing bowls from four different cupboards. A baking station puts them all together — a drawer or a shelf with the dry ingredients, tools, and bowls in one spot — so you can start baking without a treasure hunt. It turns a spontaneous bake into a ten-minute setup instead of a half-hour search.
Use clear containers for flour and sugar, keep the measuring cups on a hook inside the cupboard door, and store the mixer on the counter or on a lift shelf if you have one. A silicone mat and a small bin for used utensils keep the station tidy while you work. Even a single dedicated drawer can be a baking station if the space is small.
24. Meal-Prep Zone with Containers
A meal-prep zone makes weekday cooking dramatically easier. Dedicate one drawer or shelf to stackable meal-prep containers, lids, and labels, and set aside a clear stretch of counter for chopping and portioning. When the containers and the workspace live together, prepping a week of lunches takes a fraction of the time.
Choose containers that stack neatly and use the same lid size where possible, so you are never hunting for a matching lid. Label each container with the meal and the date, and keep a set of small containers for sauces and dressings. A weekly prep session in a well-organized zone means healthy, home-cooked meals with almost no daily effort.
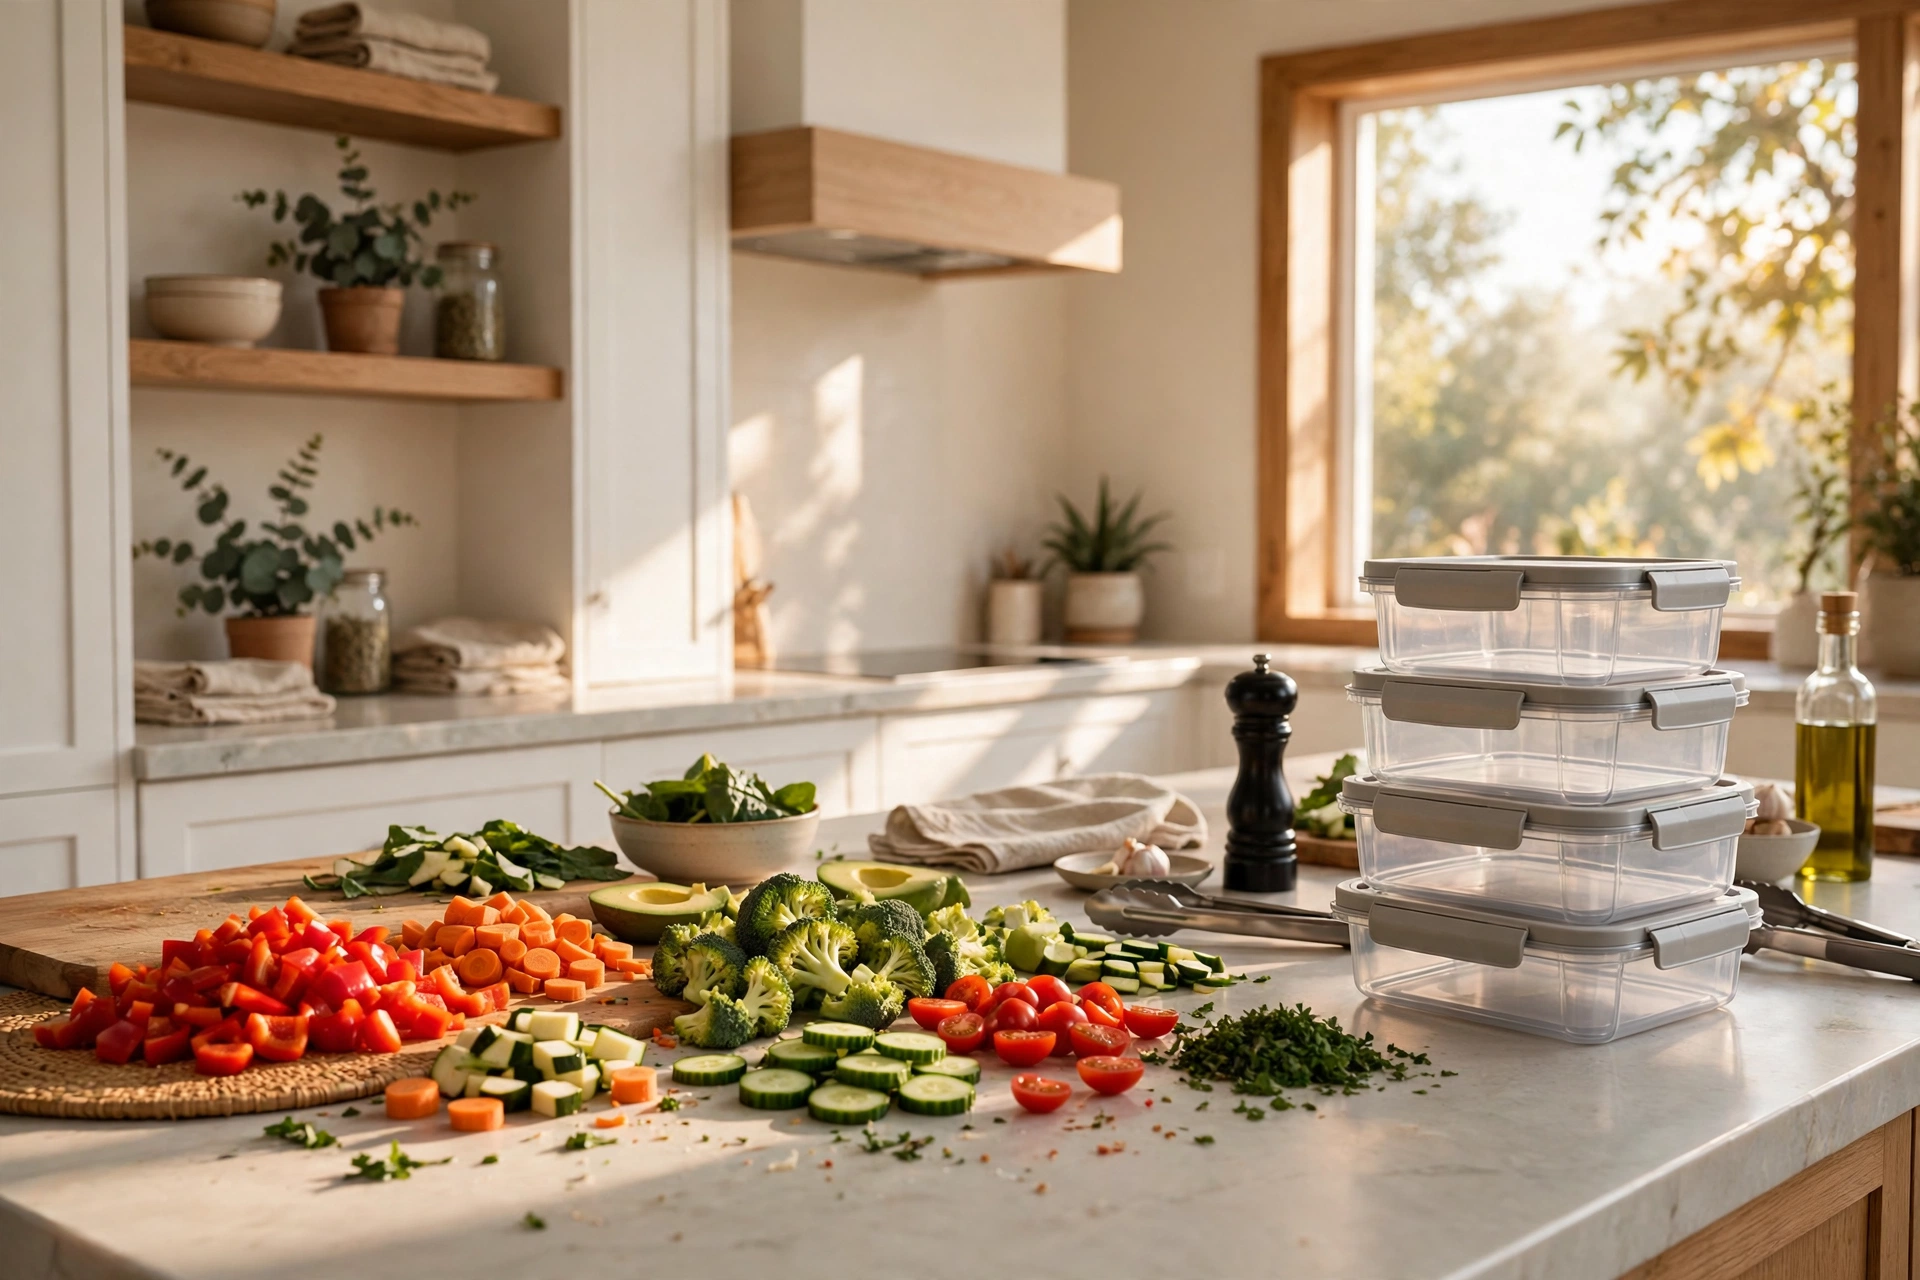
25. Stackable Food Storage Containers
Mismatched food containers with missing lids are one of the biggest sources of kitchen clutter. Switching to one stackable set, with containers that nest inside each other and lids that stack separately, reclaims a whole cupboard. Clear containers let you see leftovers at a glance, so food gets eaten instead of forgotten.
Pick a single brand or system so the sizes work together, and store lids upright in a small file organizer or a lid rack beside the containers. Keep the sizes you use most at the front and the large, rarely used ones at the back. A quick monthly audit — toss cracked containers and orphan lids — keeps the system working.

26. Label Everything System
Labels are the secret weapon of an organized kitchen. When every bin, jar, and shelf is labelled, everyone in the house knows where things go, and the system stays tidy without one person policing it. Labels remove the guesswork from putting shopping away and stop the slow drift back into chaos.
Use a label maker for a clean, uniform look, or chalkboard labels that you can wipe and rewrite as contents change. Label the front of bins and the top of jars, and include the expiry date on pantry labels where it helps. Keep the wording short and clear — ‘Pasta’, ‘Snacks’, ‘Baking’ — so even children and guests can follow the system.
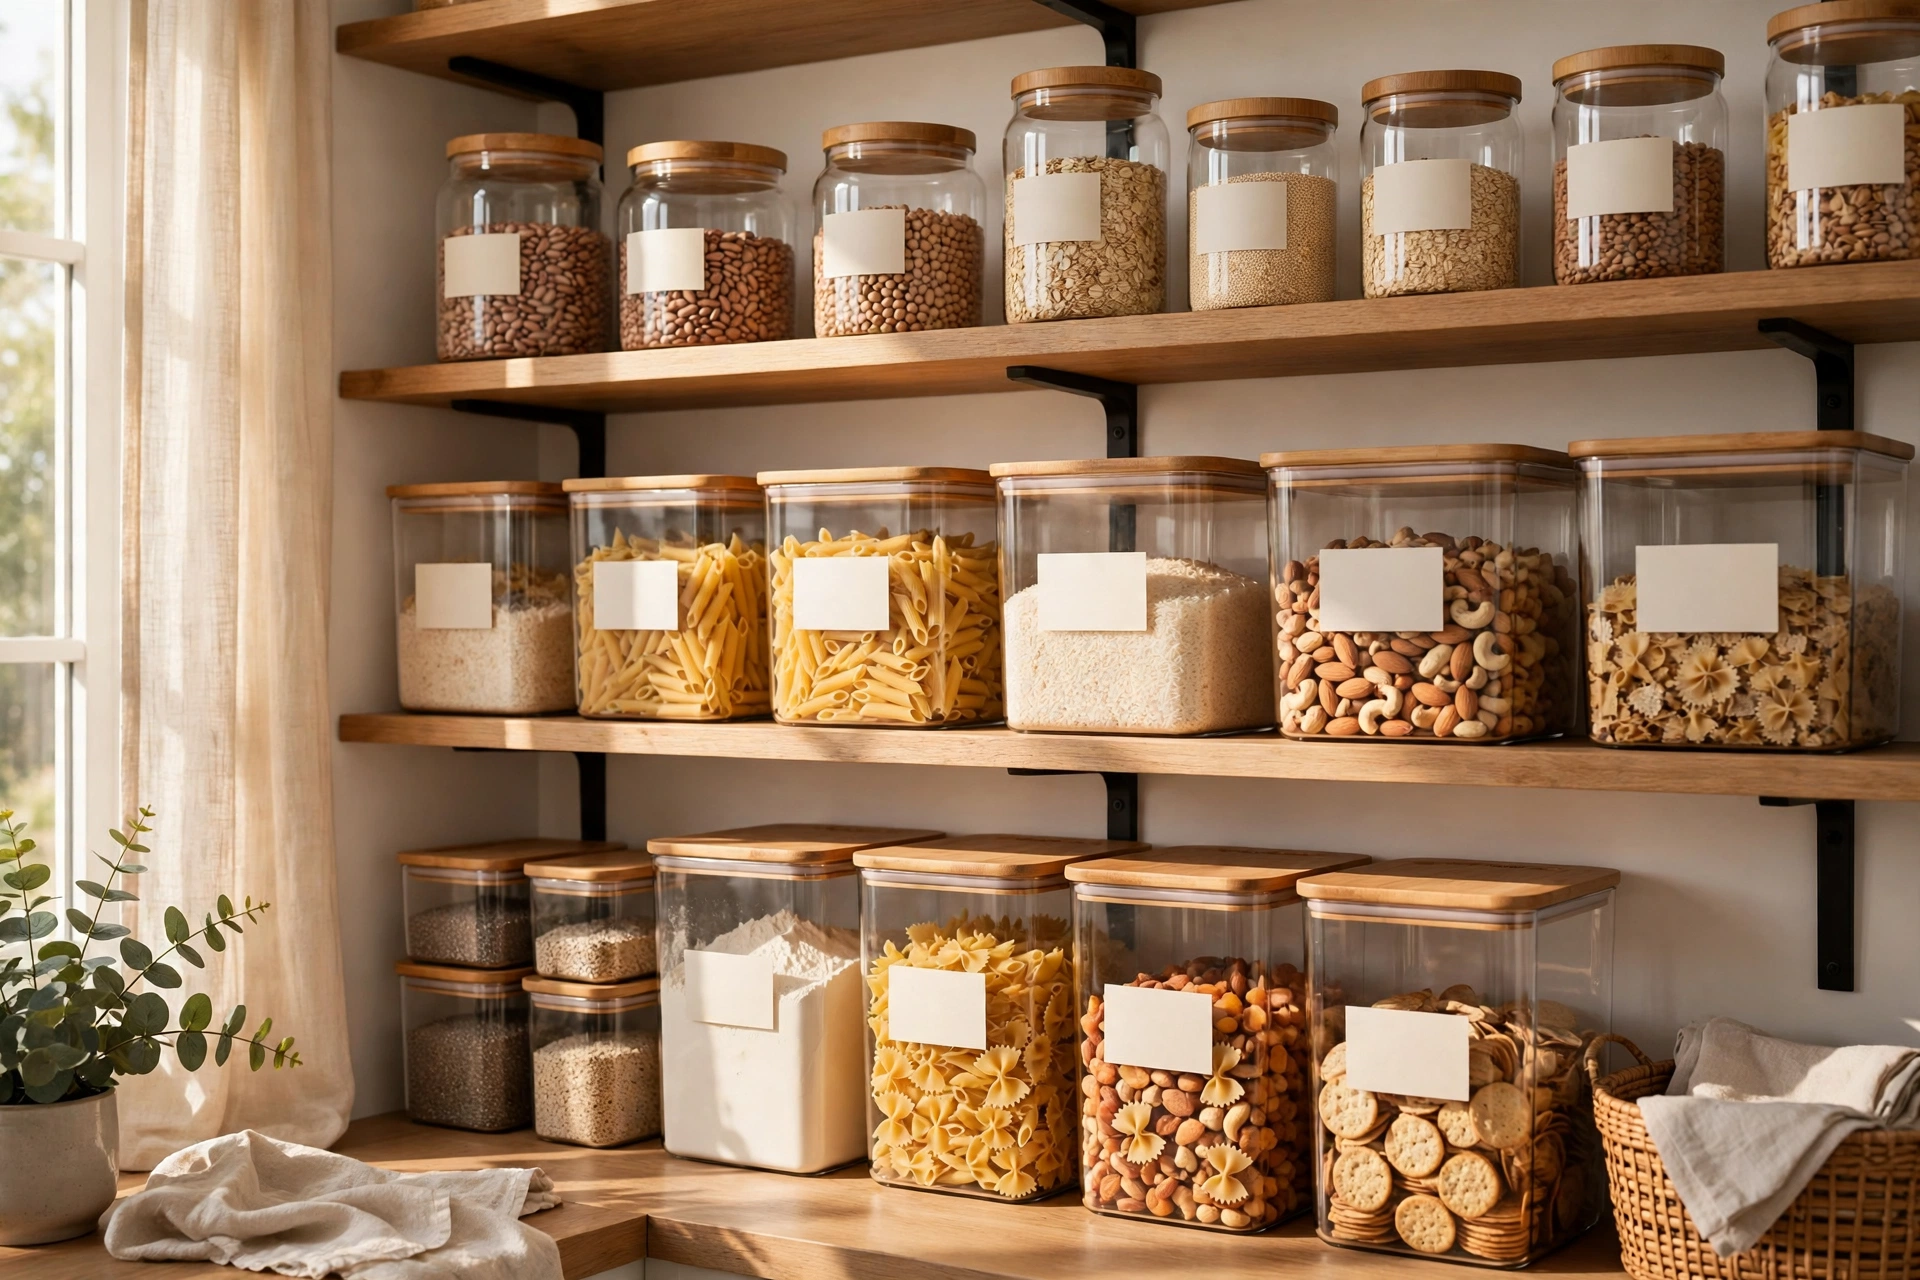
27. First-In First-Out Pantry Rotation
First-in, first-out is the simple rule that stops food expiring at the back of the pantry. When you buy a new tin or jar, put it behind the older one, so the oldest item is always at the front and gets used first. It is how shops and restaurants manage stock, and it works just as well at home.
Make rotation easy by keeping categories in bins or on turntables, so you can slide the whole group forward and slip new stock in behind. Check dates once a month and move anything close to expiry to the front, or plan a meal around it. This one habit cuts food waste and saves money every single week.

28. Deep Drawer for Pots with Pegboard Dividers
Deep drawers are far better for pots and pans than low cupboards, because you can see everything from above and lift a pan out without crouching. Pegboard dividers — small pegs that fit into a board at the bottom of the drawer — hold each pot and lid in its own slot, so nothing slides around when the drawer opens and closes.
Arrange the pegs around your actual pots, not a generic layout, and leave space for lids to stand upright beside them. Keep the heaviest pots at the bottom of the stack or in the lowest drawer, and the everyday frying pan on top. A pegboard drawer turns the most awkward kitchen storage into the easiest to use.
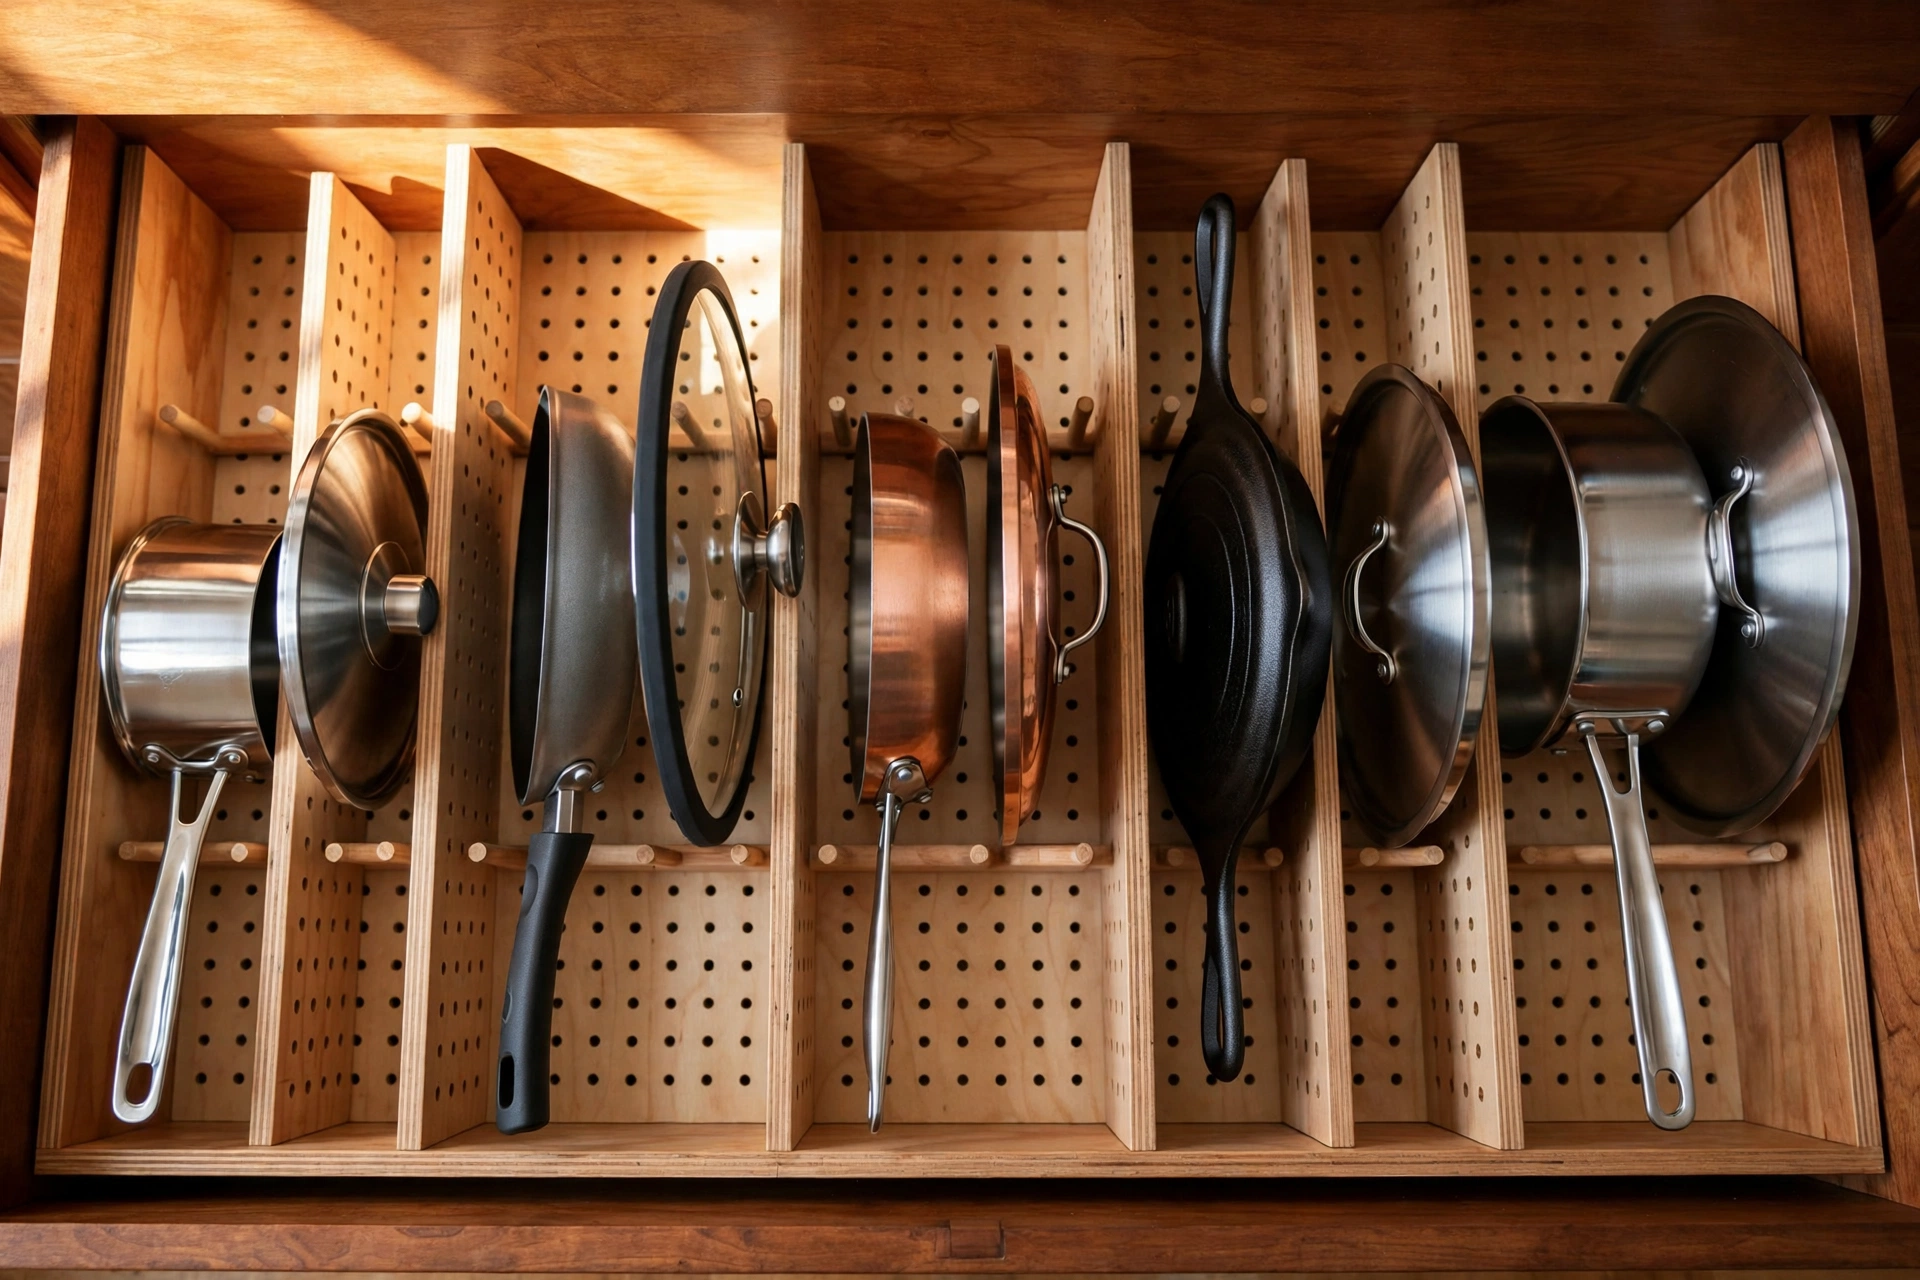
29. Vertical Baking Sheet Organizer
Baking sheets, muffin tins, and cooling racks stacked flat are heavy and always in the wrong order. A vertical organizer stores them upright on their edges, like files in a drawer, so you can pull out the exact tray you need without lifting the whole pile. It works in a narrow cabinet, a drawer, or even on a shelf.
Sort trays by size and by how often you use them, with the everyday baking sheet at the front. A tension rod across a cabinet can create a DIY divider for trays, or a ready-made rack will do the job in seconds. Keep the cooling racks together at the back, where they are easy to reach but out of the way.

30. Small Kitchen Vertical Storage and Wall Shelves
Small kitchens run out of counter and cabinet space fast, so the walls are the next frontier. Open wall shelves, a rail with hooks, and tall narrow shelving use vertical space for everyday items — plates, mugs, oils, and herbs — without taking up a single inch of floor. It makes a small kitchen feel bigger, not more crowded.
Keep only the prettiest and most-used items on open shelves, and store the rest behind closed doors so the walls do not look cluttered. Hang a rail for utensils and mugs near the stove, and use the top shelf for items you reach for weekly rather than daily. Vertical storage is the best friend of a small kitchen.

31. Rolling Cart as Extra Storage
A rolling cart is the most flexible storage in any kitchen. Use it as a pantry overflow, a drinks cart, a baking trolley, or a place to hold vegetables, and wheel it where you need it — beside the stove while you cook, or out of the way when guests arrive. When the kitchen is small, a cart is like adding a whole extra cupboard.
Choose a cart with at least two tiers and a sturdy top you can use as a work surface. Keep the heaviest items on the bottom shelf so it does not tip, and use small bins on each tier to stop things sliding when it moves. A cart with wheels that lock stays put while you work and moves easily when you clean.
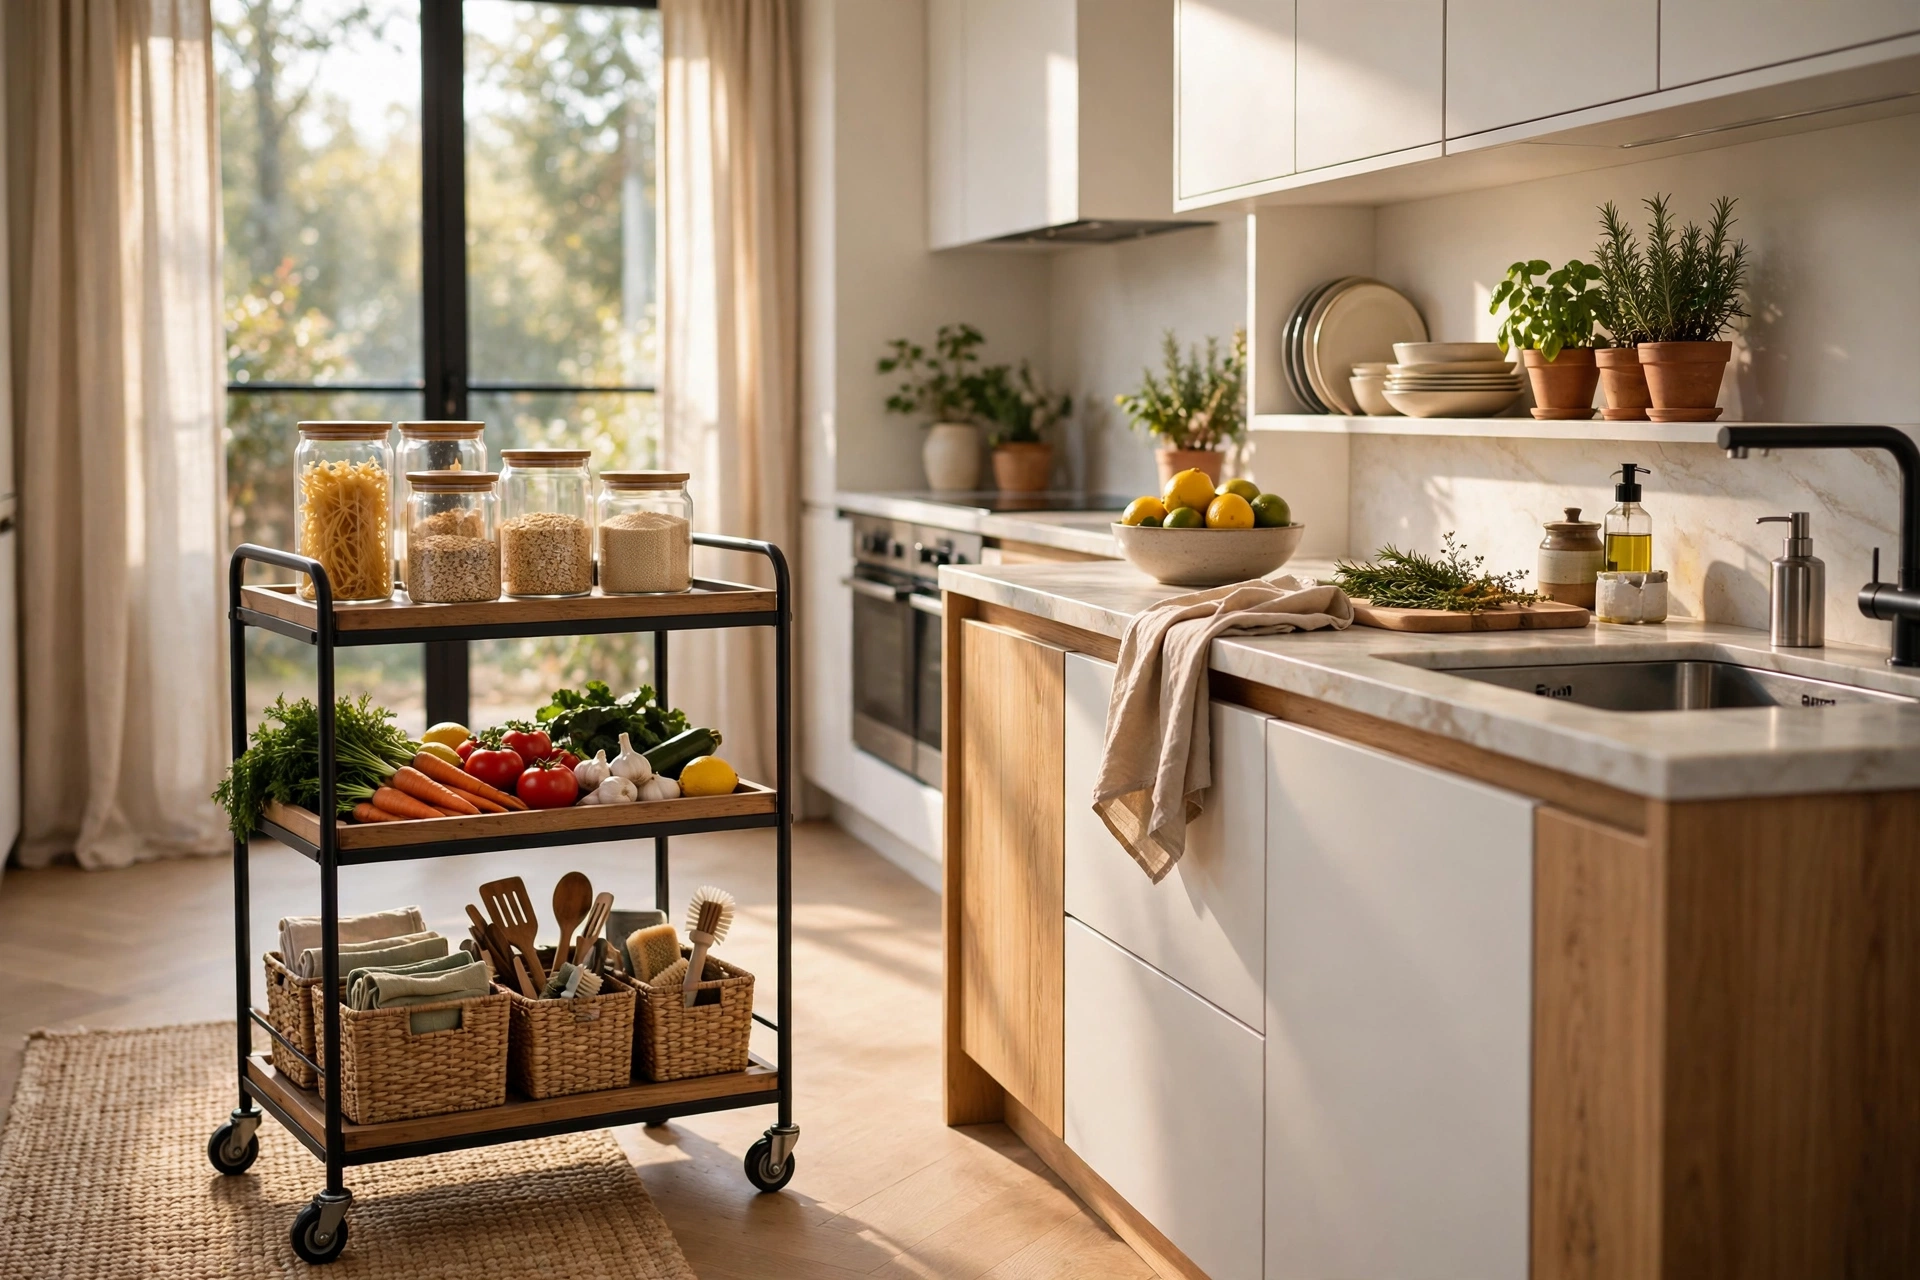
32. Trash and Recycling Pull-Out
A pull-out bin hidden inside a cabinet keeps the kitchen looking clean and stops the bin from taking up floor space. A double pull-out holds rubbish on one side and recycling on the other, so sorting becomes automatic. It also keeps smells contained and stops pets or small children getting into the bin.
If a built-in pull-out is not possible, use a slim bin that fits inside a cabinet or beside the counter, with a small caddy for recycling on top. Line the cabinet with a wipe-clean mat, and keep bin bags in a holder on the inside of the door. A hidden bin is one of those upgrades you notice every single day.

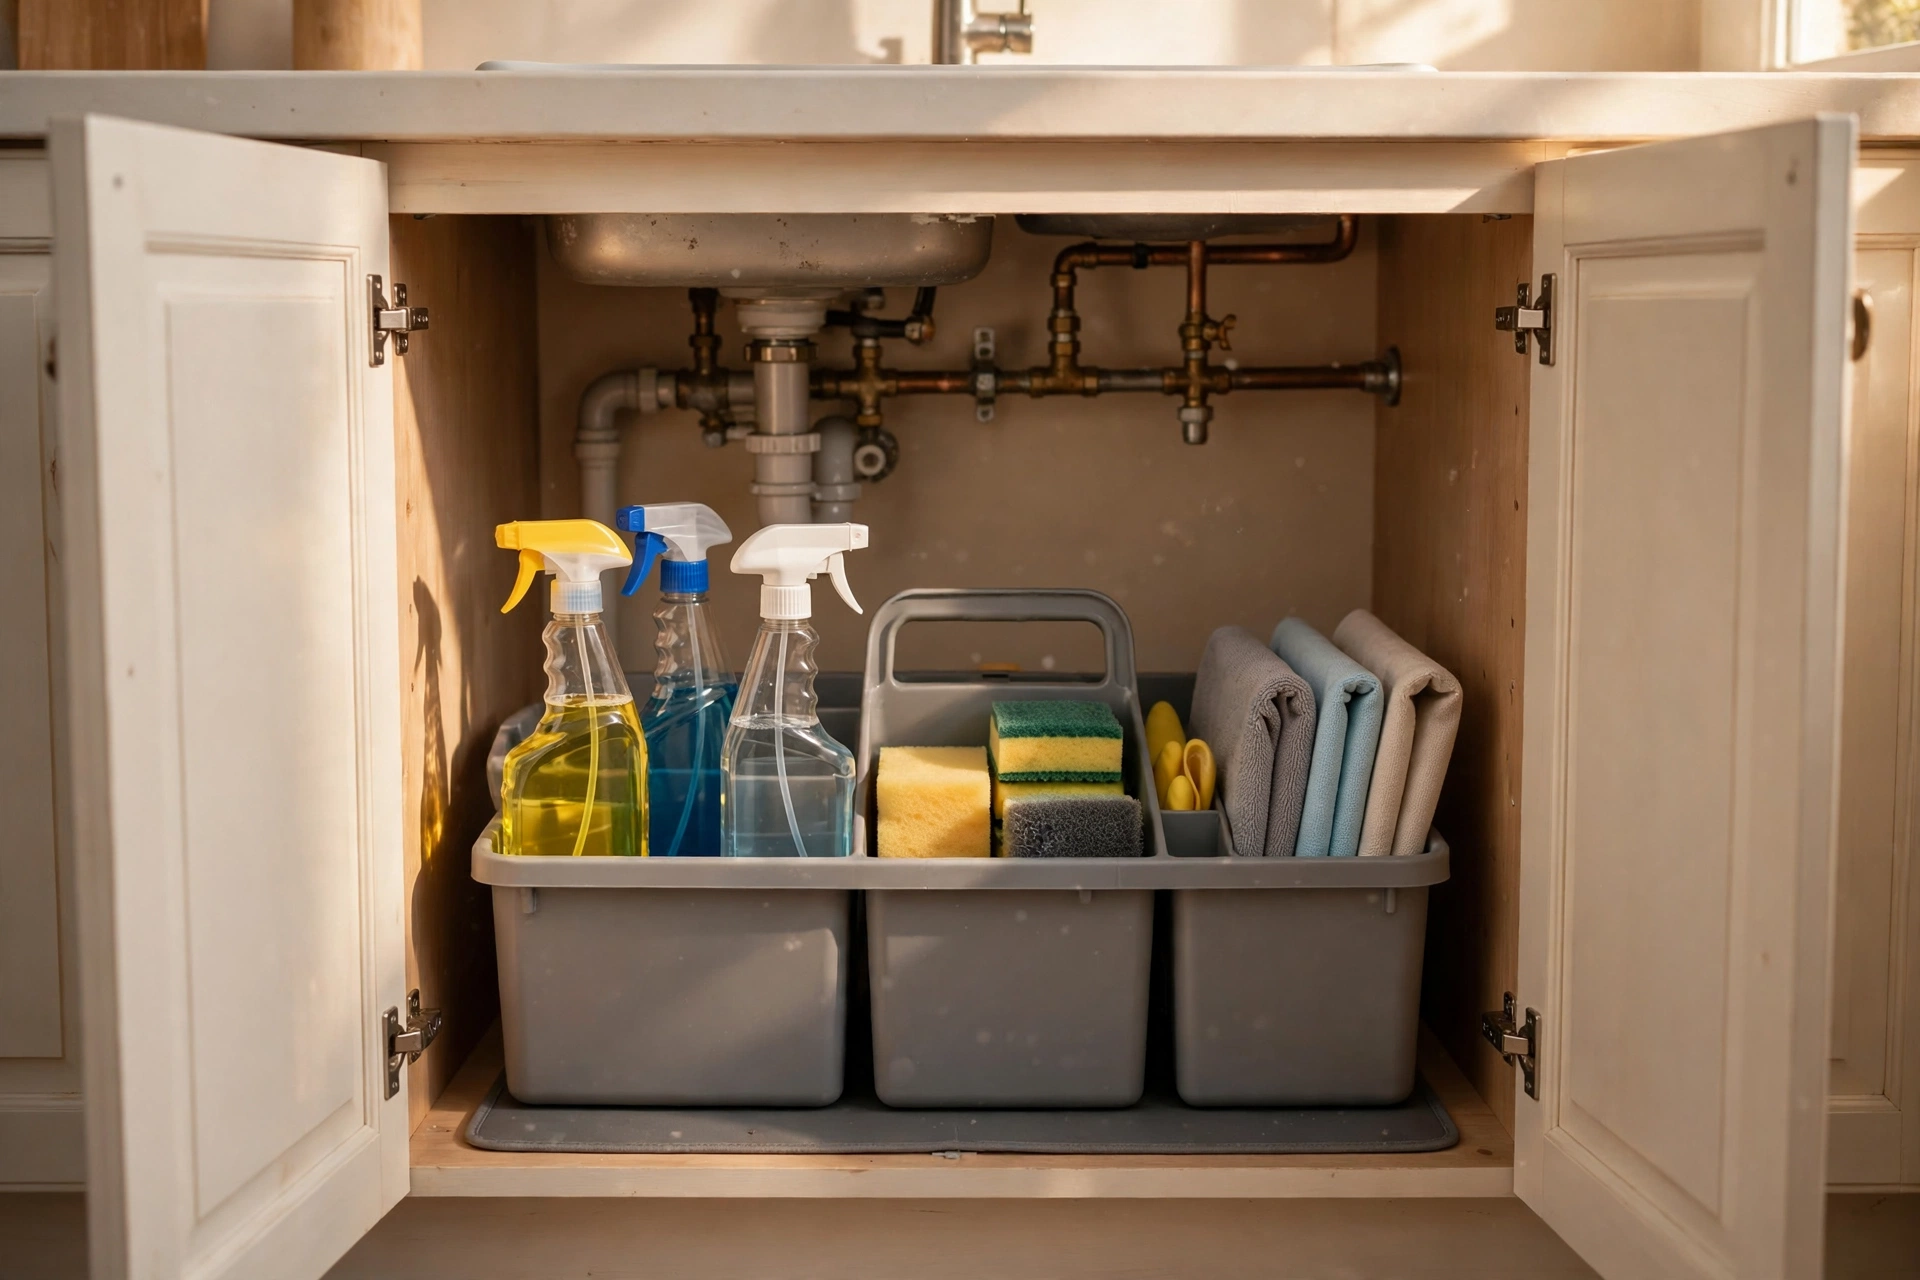
33. Cleaning Supplies Caddy Under the Sink
Cleaning supplies scattered under the sink are hard to find and easy to knock over. A portable caddy with a handle holds the sprays, sponges, and cloths you use most, so you can carry the whole kit to the bathroom or the living room and bring it back in one trip. It keeps the under-sink cupboard tidy too.
Keep only the products you use weekly in the caddy, and store the spares and refills behind it or on a higher shelf. A caddy with compartments stops bottles falling over, and a small bin for cloths keeps them separate from the sprays. Grab the caddy, clean the room, put it back — the system practically runs itself.
34. Freezer Organization with Bins
A freezer without bins is a frozen jumble where food disappears under a pile of bags. Small bins or baskets sort the freezer into zones — meat, vegetables, bread, and ready meals — so you can see what you have and use the oldest food first. Labelling each bin makes the system work for the whole household.
Use bins that fit your freezer drawers or shelves, and freeze food flat in bags so it stacks like files. Label every bag with the contents and the date, and keep a simple list on the freezer door of what is inside. A monthly check to use up the oldest items keeps the freezer from filling with forgotten food.

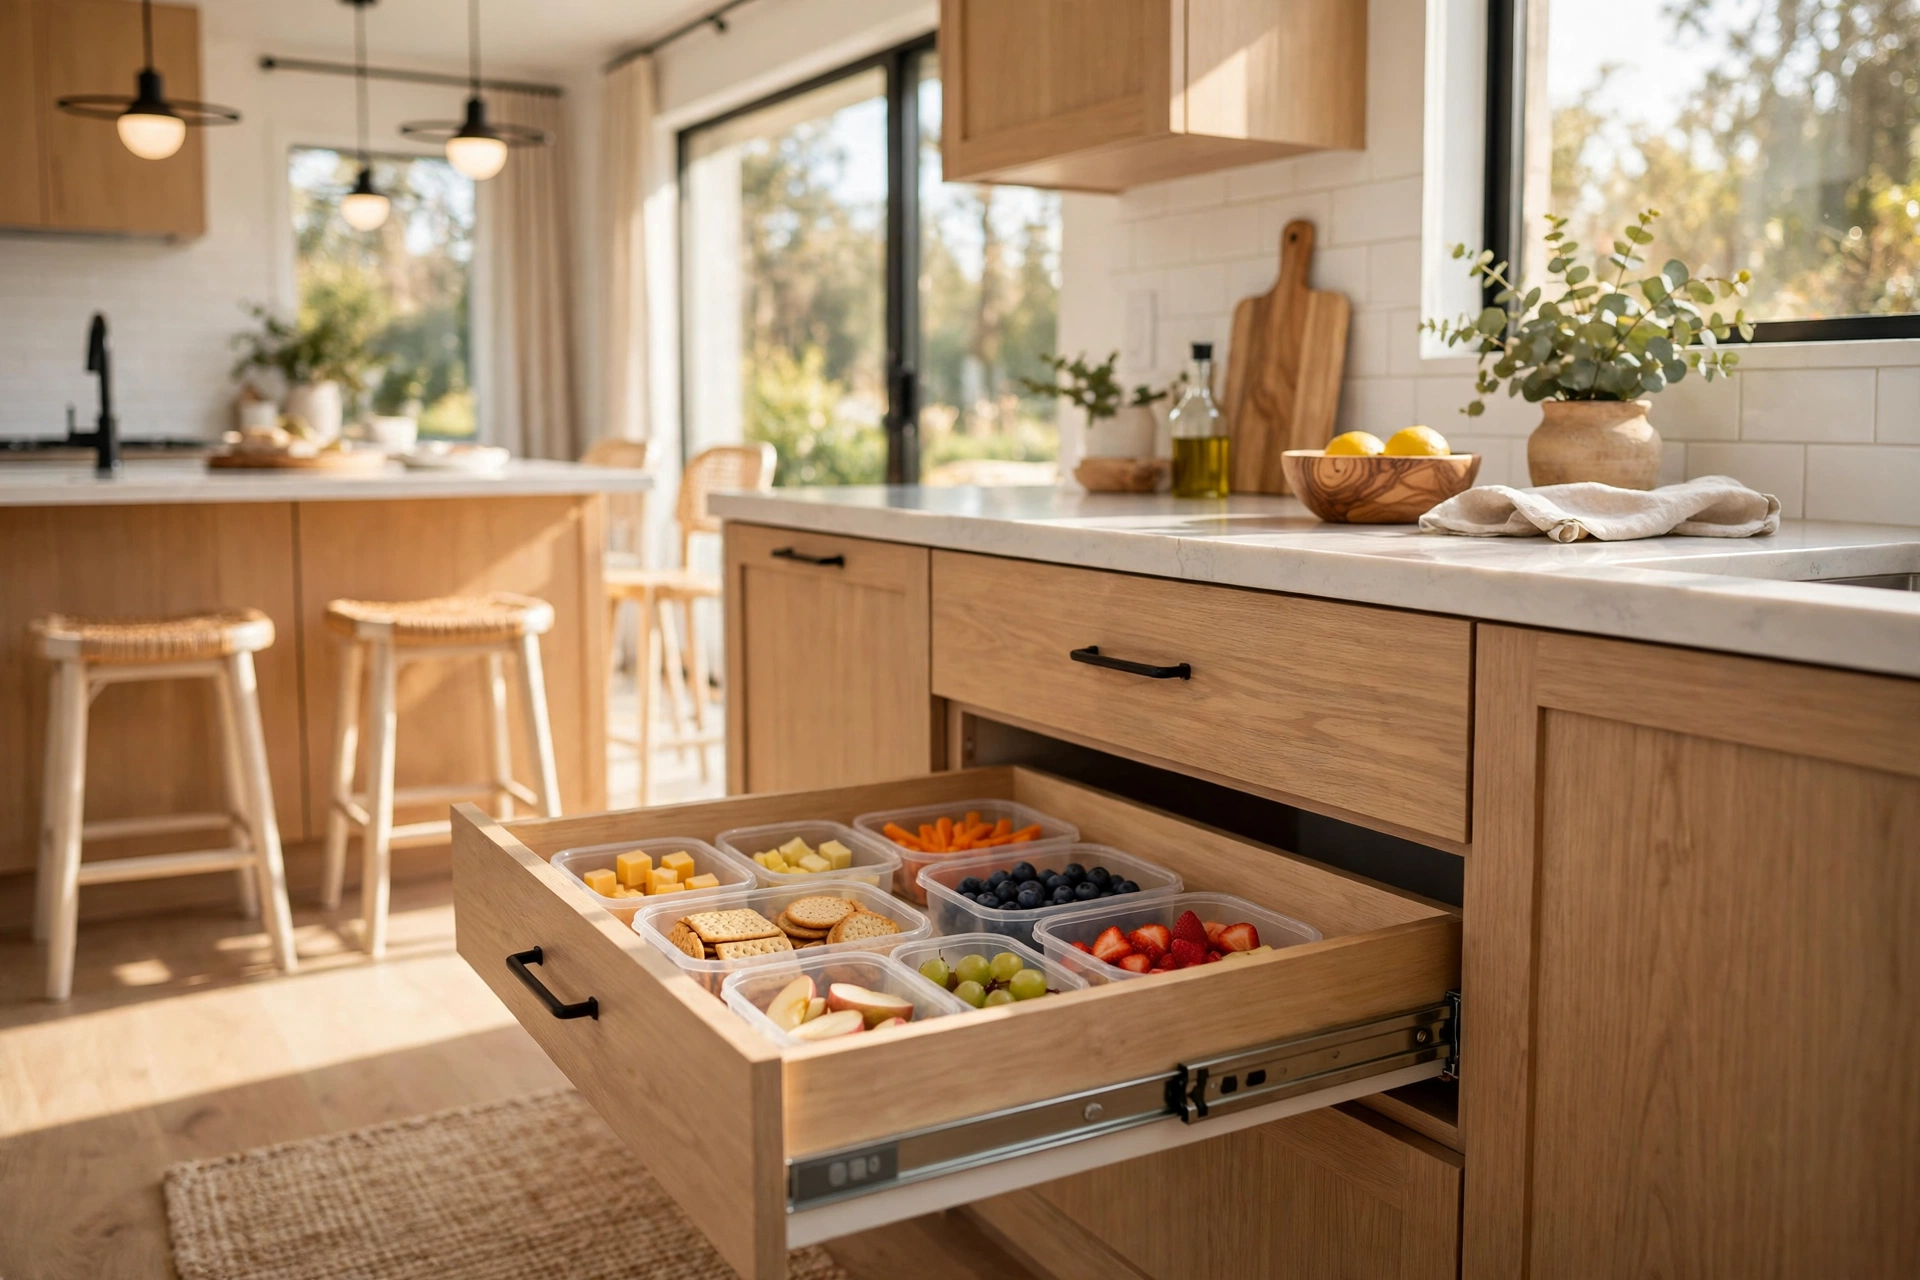
35. Kids Snack Drawer at Low Reach
A low snack drawer gives children independence and saves you a dozen trips to the pantry every day. Fill a low drawer or a basket on a low shelf with healthy, pre-portioned snacks — fruit, crackers, cheese, and yoghurt tubes — so children can help themselves without climbing or asking. It also stops them raiding the biscuit tin.
Keep the drawer stocked with a few choices, not an overwhelming pile, and rotate the snacks weekly so they do not get bored. Use small containers or bags so portions are ready to grab, and keep the treats on a high shelf out of sight. A snack drawer teaches children to make their own choices within limits you set.
36. Budget Dollar-Store Organization Hacks
You do not need expensive systems to organize a kitchen — dollar-store bins, baskets, and hooks can transform a cupboard for a few pounds. Small plastic bins corral packets in the pantry, adhesive hooks hold measuring cups, and a magazine holder becomes a cutting board file. The trick is choosing simple, sturdy pieces and using them consistently.
Start with one problem area, like the spice cupboard or the junk drawer, and spend a small amount on bins that fit that space exactly. Measure before you buy, and stick to one colour or material so the result looks intentional rather than random. Budget organization proves that a tidy kitchen is about the system, not the price tag.

Final Thoughts
The best kitchen organization ideas are the ones you will actually keep using, so start small and build from there. Choose one cupboard, one drawer, or one shelf this weekend, give everything in it a home, and notice how much easier cooking feels. Add another zone next week, keep up the ten-minute reset, and your kitchen will stay tidy, calm, and ready for every meal — all year round.